Mt. Rainier National Park is famous for – well – Mt. Rainier. However, there is so much more to the park than the famous peak. Sure you can enjoy some of the best mountain climbing in the county but you can also spot glaciers, beautiful meadows, rushing waterfalls, hidden lakes and go on some of the most pristine hikes. In our Ultimate guide, we’ll cover everything you need to know for your Mt. Rainier National Park visit. We’ve included best times to visit, top things to see, a full Mt. Rainier itinerary and more!
The Ultimate Guide to Mt. RainierToggle Table of ContentToggle
Top 5 Things to Do
- Hike Skyline Trail
- Box Canyon
- Reflection Lakes
- Narada Falls
- Grove of the Patriarchs
When to Visit
We think summer is the best time to visit as you will find the most predictable weather during this season. You’ll also have a chance of spotting some beautiful wildflowers in bloom during these month. Spring and fall will be less crowded but the unpredictable weather may mean you’ll have to limit the things you do in the park. Several roads close in the park in winter so avoid visiting during this time if you want to complete the entire Mt. Rainier itinerary.
If you are visiting during summer, you can avoid some crowds by completing your Mt. Rainier itinerary on a weekday. Any US National Park entrance can get crowded so, to avoid waiting in line, arrive early (before 10 AM). Once you’re in the park, you may find some viewpoints crowded or the traffic a little slow but most people are pretty spread out so you can easily avoid crowds.
Getting There and Around
Mt. Rainier National Park is located just over 2 hours south of Seattle. You will need a car within the park to get through our full Mt. Rainier itinerary so we recommend flying into Seattle, renting a car and taking the scenic loop around Mt. Rainier. Having a car will allow you to see the best of what Mt. Rainier has to offer.
Upon entering the park, you will need to purchase a park pass. This pass is $30 per vehicle entering the park. However, we always recommend purchasing the America the Beautiful Annual US National Parks Pass for $80. This is a great savings if you are going to multiple National Parks or Forests and it lasts for a full calendar year. We like to purchase this annual pass as it encourages us to go to even more parks!
The park is broken up into five sections: Sunrise, Paradise, Longmire, Ohanapecosh and Carbon River. Each area has its own visitors center/museum to visit and trailheads to access. However, access to food and restrooms are limited and mainly centered around these visitor centers. Make sure to plan accordingly. For our one day Mt. Rainier itinerary, we recommend packing a picnic lunch which helps to avoid reliance on these limited amenities.
Safety
Remember that much of Mt. Rainier National Park is remote wilderness. Don’t attempt any hiking or mountain climbing that you will be unable to complete with the supplies you have. When hiking make sure to stay on the marked paths for your safety and for the safety of the ecosystem. Overnight hikes within the park and glacier/mountain hikes require trail permits so make sure to get those before embarking on a hike as they help keep you safe by letting the park staff know where you are.
As with any wilderness area, we hope you get to enjoy some amazing wildlife. However, remember to enjoy all wildlife from a safe distance and avoid attempting to feed animals of any kind.
Also, remember that this is a major tourist destination and as such it can easily be the target of theft. Avoid theft by concealing items in your vehicle or leaving them at your accommodations. Also, remember to keep an eye on your personal belongings that you carry with you and always lock your vehicle.
Where to Stay
If you are on a budget, we recommend camping in one of the three drive in campgrounds in the park great for tent camping. Sites are $20 per night and accommodations are standard for national parks. Another great mid-range budget option is to stay just outside the park in an AirBnB rental. We stayed in an AMAZING rental for 6 people for under $100 only 20 minutes outside the park entrance.
The park also has hotels within the park and hotels just outside the park. However, because of the limited rooms available and the high demand during summer, these can be a pricier option.
Mt. Rainier Itinerary
Start your morning by entering the park at the White River Entrance and head straight to the Sunrise Visitor’s Center. Take in the view here and then head out of the Sunrise sections, stopping at any fun viewpoints along the way.
Next, head to the Grove of the Patriarchs and complete this short trail into this old growth forest and be prepared to see some towering trees.
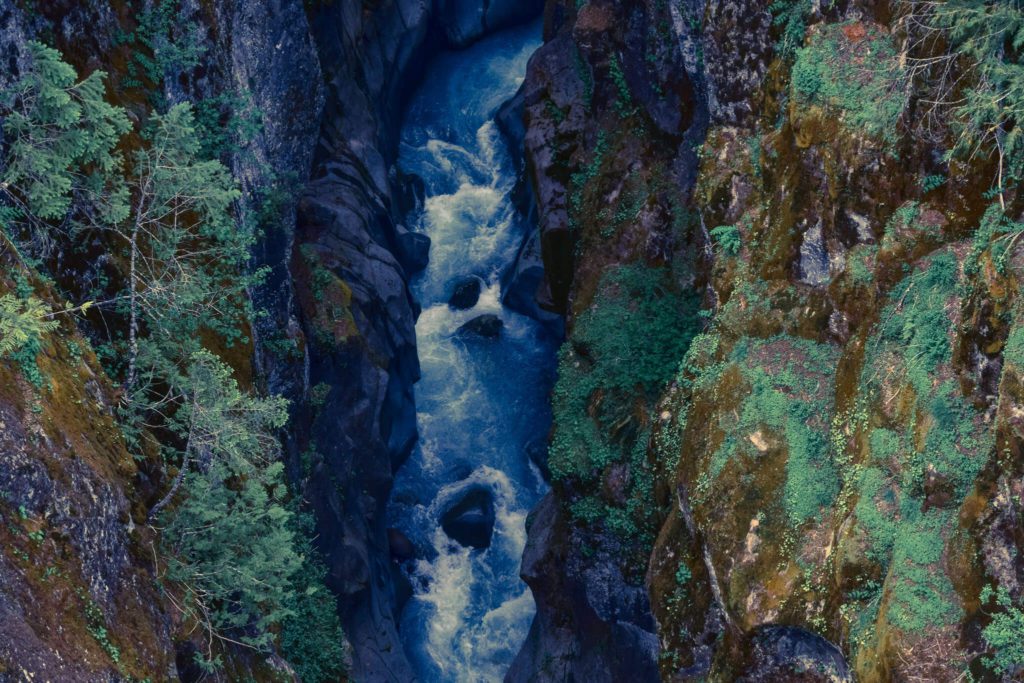
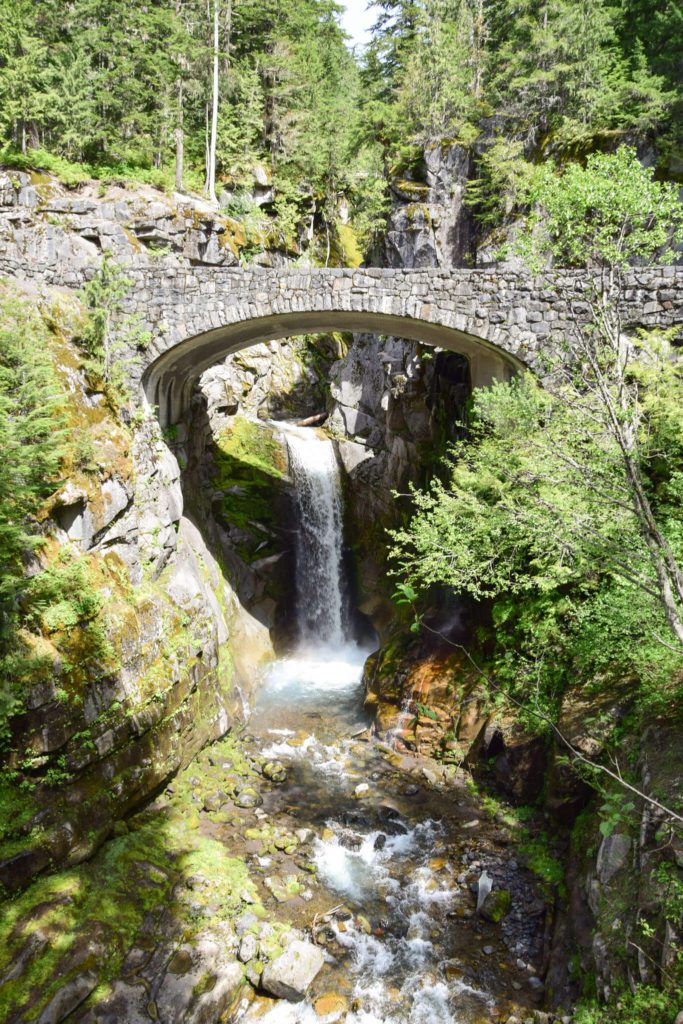
After seeing the Grove of the Patriarchs, check out the short hike around Box Canyon, a beautiful slot canyon.
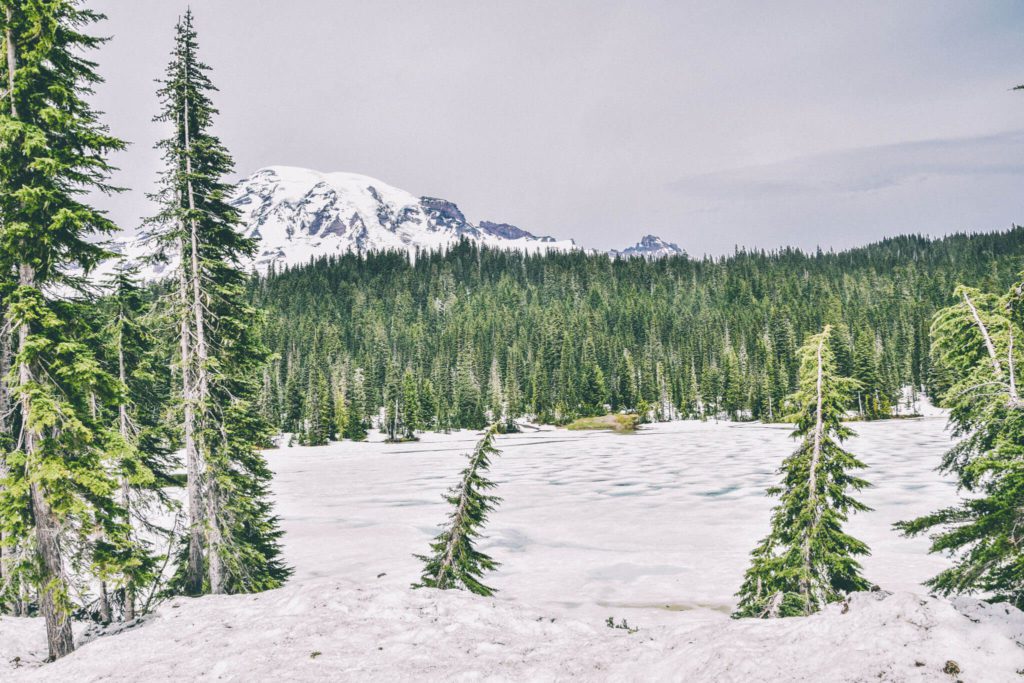
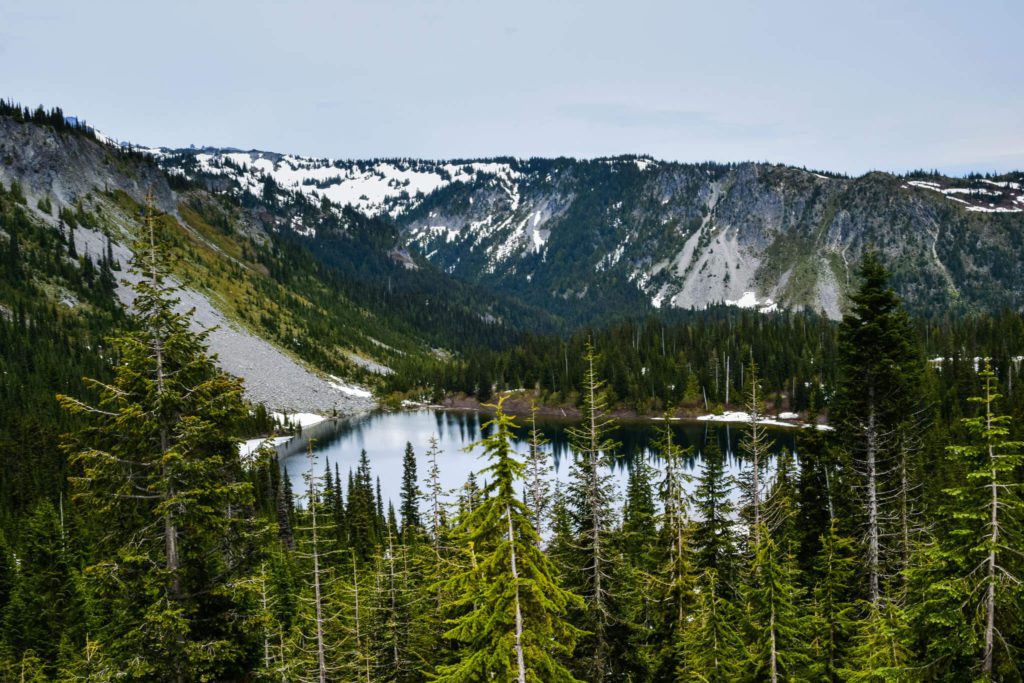
Head to Reflection Lakes to get that iconic photo of Mt. Rainier reflected on the perfectly still lake water.
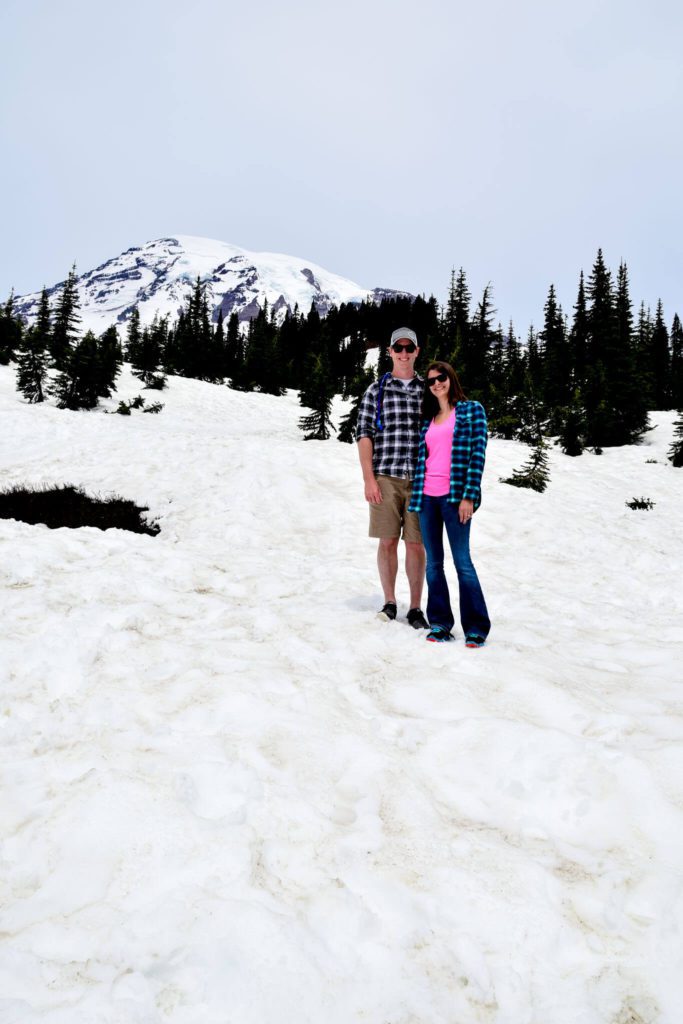
Next, make your way to the Paradise visitors center and stop here for lunch or enjoy the picnic that you packed. Hang out for a while at paradise enjoying the incredibly close views of the mountain. Hike the Skyline Trail to get some up close a personal views of the glaciers and mountains.
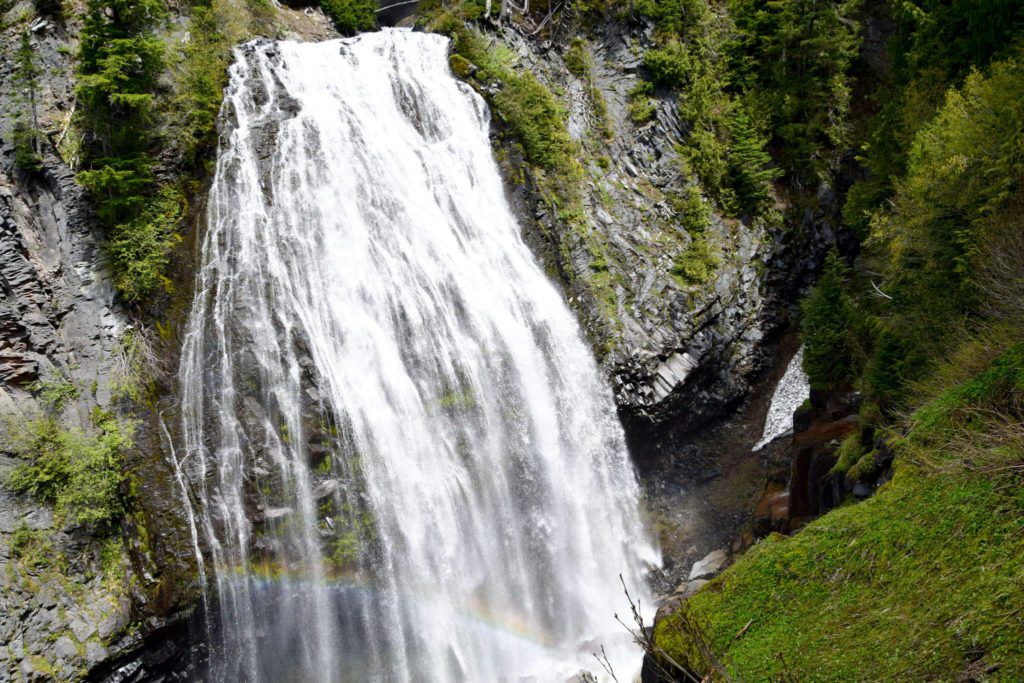
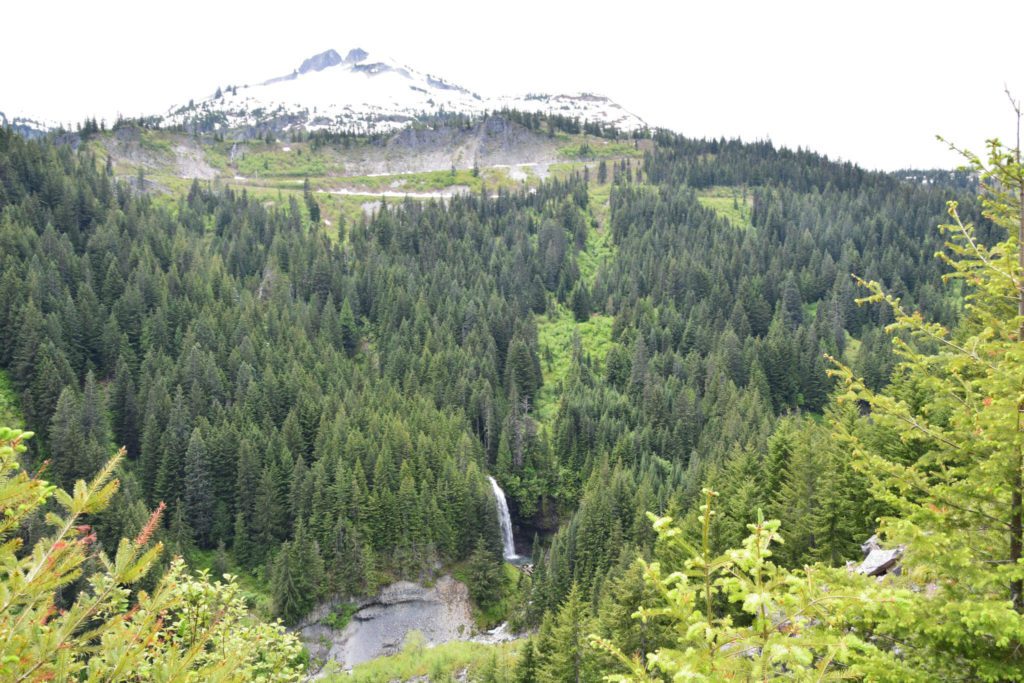
Leave Paradise and head to Narada Falls and do the short hike from the parking area to the falls viewpoint.

Head on to the Longmire Museum, stopping at any fun viewpoints. Enjoy the museum and learn about Mt. Rainier before leaving the park via the Nisqually Entrance.
Want To Extend Your Trip?
We extended our Mt. Rainier itinerary by heading south to Mt. Saint Helens for an extra day. If you’re interested in hiking more of the trails Mt. Rainier has to offer, you could also stay an extra day to allow for time to complete more hikes.
What To Pack?
Keep in mind that conditions on a mountain can change quickly. Therefore, we recommend packing several layers of clothing, including a waterproof jacket. Also, remember that it gets colder with higher elevation so remember to dress a little warmer. Pack comfortable shoes as several viewpoints require some walking.
For hiking, we love packing our hydration backpacks. If you don’t have one, remember to pack some reusable water bottles and try to avoid using disposable bottles. If you’re going to spend time outside, remember to wear sunscreen or a hat even if it is cloudy. This higher elevation can lead to some unexpected sunburn.


Awesome post! Would love to visit here in the future and I’ll use this to plan my trip!