Did you know only one percent of people who visit Grand Canyon National Park each year hike into the actual canyon (according to some guesstimates on the interweb). Will you be one of them? There are plenty of short day trips you can take to different viewpoints within the canyon. However, the ultimate Grand Canyon bucket list experience is visiting the Colorado river at the very bottom of the canyon. There are many ways to do a Grand Canyon hike for a variety of skill levels. But one of the most popular, and least expensive options, is to hike from Rim to River to Rim, essentially down and out.
Our Grand Canyon hike involved hiking down the South Kaibab trail and back up the Bright Angel trail in two days. Here we’ll share our experience with you and give you tips for planning your own Grand Canyon hike. With some advanced planning, pretty fit legs, and a will to succeed, you’ll have an epic adventure completing this amazing hike and truly getting to see all that the Grand Canyon has to offer.
Grand Canyon HikeToggle Table of ContentToggle
About the Grand Canyon Rim to River to Rim Hike
Grand Canyon Hike Stats
- Distance: 16.5 miles
- Elevation change: over 8000 ft; 4700 ft downhill and 4340 ft uphill
- Difficulty: very difficult
- Max elevation: 7200 ft
- Min elevation: 2500 ft
- Time to complete: 2 days (recommended); 8-12 hours of hiking time
- Backcountry Permit Required for overnight camping
When to Visit
The best time to hike the Grand Canyon is in the Spring and Fall.
Winter can impede your hiking with snow and ice. I truly cannot imagine the strain on your knees ice would create. It sounds miserable. Also, lots of water refill stations are closed in the winter. Summer would also be rough because of extreme heat. The park service does not recommend completing this hike if the temperature exceeds 100°F. Keep in mind that the temperature at the bottom of the canyon is about 20°F hotter than at the top.
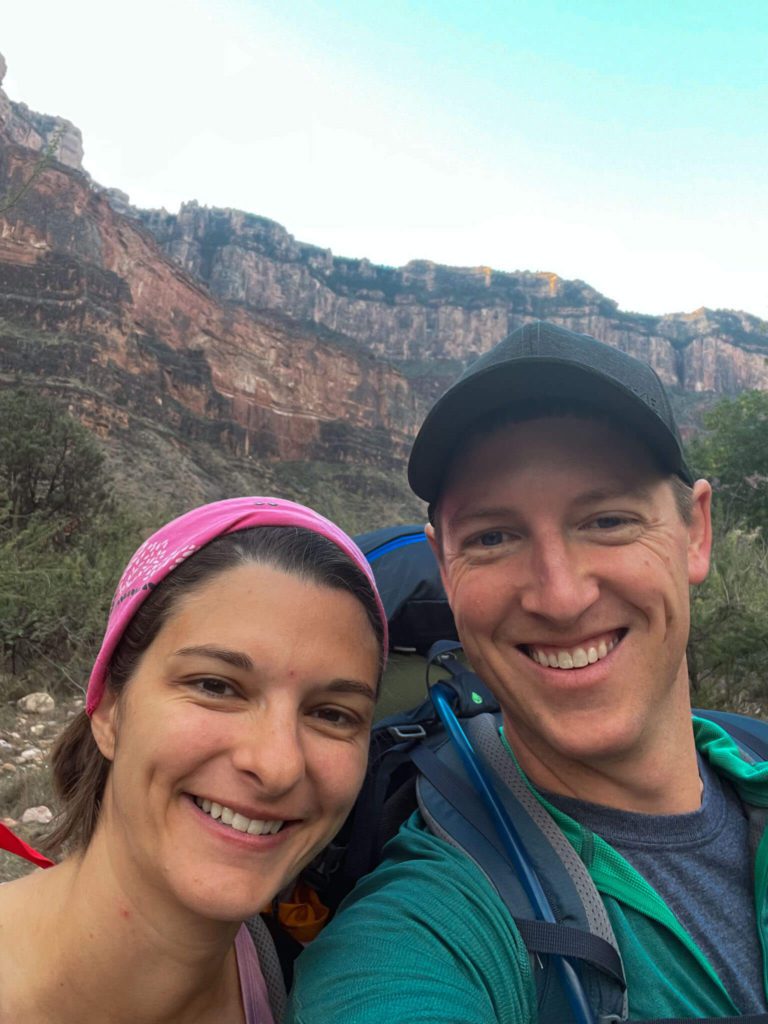
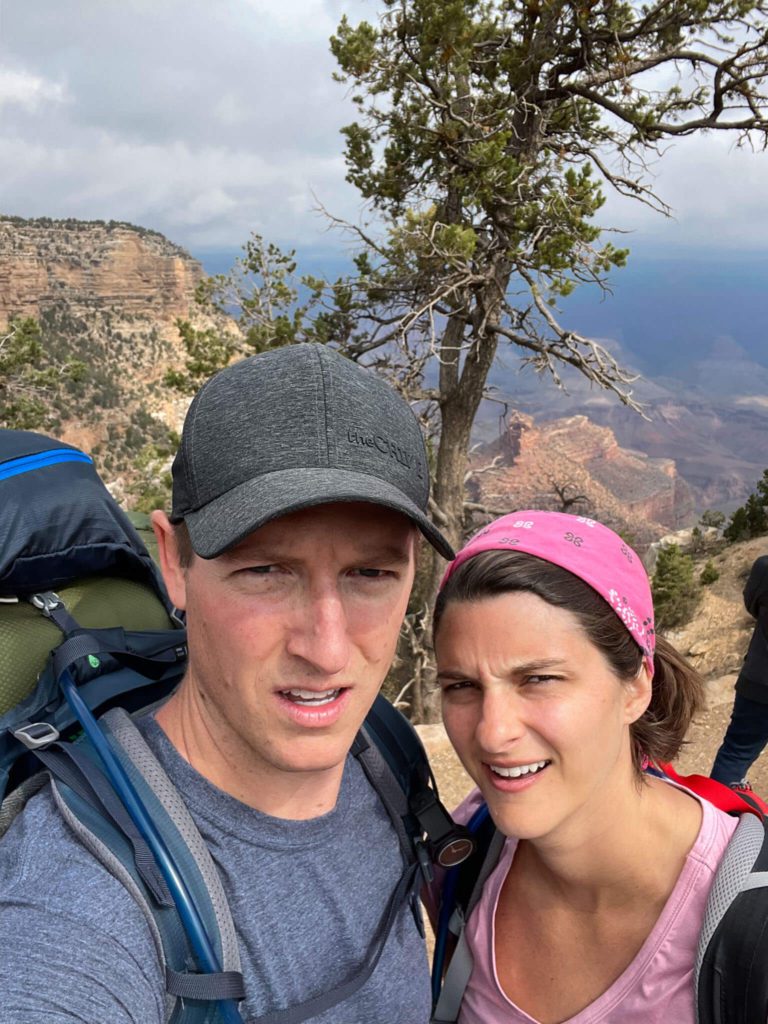
We hiked in 90°F temperatures at the bottom of the canyon in early October and it was tough.
Getting There and Around
One of the reasons we think this is the best Grand Canyon hike for first timers is that it both starts and stops at the same place. This eliminates so much extra planning you’ll have to do to figure out a return journey. Our Grand Canyon hike also starts and stops at the South Rim. This section of the park is open year round and has an excellent infrastructure that will make parking and transportation easy.
You’ll need to enter Grand Canyon National Parks South Rim section. This will include purchasing a $35/vehicle entrance fee or showing off your American the Beautiful Parks Pass. Once in the park, you’ll want to park at the backcountry parking lot. From here you can take a free Grand Canyon shuttle bus to the trailhead. The Hiker Express Line is the easiest bus route to catch. You cannot park at the trailheads. Check out the bus information here.
Top Things To Do


Alternative Grand Canyon Hikes
You can complete this hike in reverse order: go down the Bright Angel Trail and up the South Kaibab Trail. But really why would you? It involves more uphill walking. And trust us when we say you’ll be sick of going uphill by the end of this hike. Also, the South Kaibab Trail is widely thought to be the more scenic of the two trails. So you really want to get these views going downhill where they’ll be right in front of you. If you were walking uphill, you’d constantly have to turn around to get the views. And lastly, the Bright Angel trail has more water refill areas. You’ll need these more on the uphill hike than the downhill hike.
Rim To Rim Hike
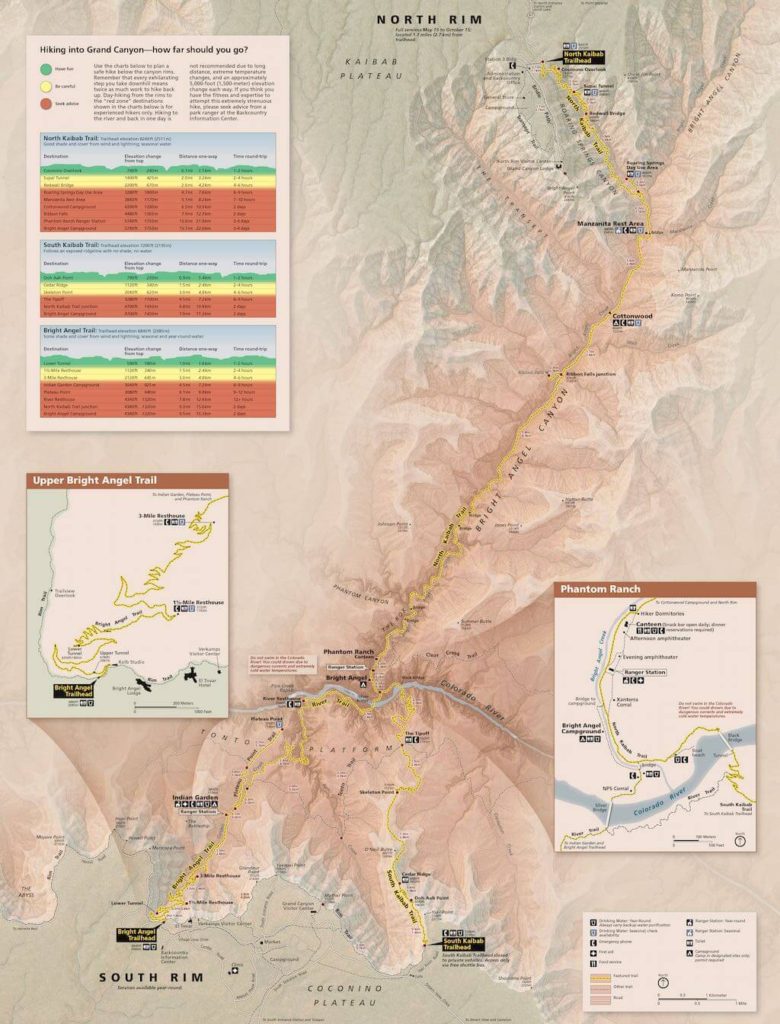
What this article covers is the Rim to River to Rim hike (or Rim to River). If you want to spend more time in the Grand Canyon, you can hike from Rim to Rim, typically from the South to the North Rim. If you take the Bright Angel trail down and the North Kaibab trail up (longest route possible), this hike is 20.7 miles long. This is the ULTIMATE Grand Canyon hike. The one everyone talks about.
However, there are a few more things to consider if doing this hike instead of the Rim to River to Rim hike. First, you’ll either have to hike your way back across the canyon or you’ll have to arrange transportation to and from trailheads. The most common way of doing this is to take a shuttle back to the trailhead you started at. We seriously wanted to do this hike. However, once we saw that the shuttle ride takes 5.5 hours and costs $90/person we changed our mind. While it would have been cool to say we hiked across the canyon, this extra time and money just wasn’t worth it to us. However, if it’s something you want to do the most common route is to climb down the South Kaibab Trail, cross the Colorado River, camp at Cottonwood Campground and hike up the North Kaibab Trail the next day.
Tonto Trail
The other alternative is taking the Tonto Trail which will eliminate some of the elevation change by taking you along the Tonto Platform instead of all the way to the Colorado River. Tonto Trail connects both the South Kaibab Trail and the Bright Angel Trail. We thought of this trail as our plan B, for if we were too tired and didn’t think we could handle any more elevation change. We didn’t end up hiking it but it is an option that does shave a few miles off of this Grand Canyon hike and over 2,000 feet of elevation change.
Rim to River Grand Canyon Hike in One Day
This hike can be completed in one day. There are hundreds of people that do it each year. However, the National Parks Service strongly advises against this. They do so with a sign at the top of all trailheads that is very graphic. It has a person on all fours vomiting. Very vivid. And if this doesn’t talk you out of the hike they have actual words (translated into several languages) trying to talk you out of it.
“Hiking to Colorado River and back in one day is not recommended due to long distance, extreme heat, and a nearly 5,000 foot elevation change.”
Don’t be a statistic. Don’t get a helicopter ride out (if you even can get one as they can’t land in most places along the trail). Know your body. Know the hike. And be prepared.
Why We Chose Two Days
In order to do this as a day hike, you have to be extremely fit and take very few breaks. We seriously considered this. However, after completing this hike in two days, we think two days is the best amount of time for a first time hiker. By the time we got to camp, both of us were completely spent. We had no more energy and I spent several hours in the ranger station after vomiting up all my food. So hiking back up really wasn’t an option for us.
Why One Day Can Work
However, we will admit that we possibly wouldn’t have been as tired if we weren’t carrying all our gear for overnight camping. A majority of repeat Grand Canyon hikers we met on the trail told us the “secret”. And that secret is keeping your pack as light as possible. To do this, you have to do a day hike, or stay at Phantom Lodge. So I think this hike would be fine to do in a day if you’re fit and you’ve done it before (or are going with someone who has). However, we think that all first time Grand Canyon hikers should spend two days hiking. This will ensure that you can complete it successfully and give you plenty of time in the Canyon to enjoy the sights rather than rushing.
Where to Stay
For this hike, there are two campgrounds and a lodge to choose from. First, say goodbye to a shower. There aren’t any in the Canyon.
Phantom Ranch
Phantom Ranch Lodge is located at the very bottom of the Grand Canyon and is a full lodge with running water. However, rooms book up early and the prices are soooo expensive for what you get. You’re basically paying for location. If you need running water, these cabins need to be booked at least 6 months to 1 year in advance.
Camping
If you want to camp, you’ll need to obtain and backcountry camping permit, even for the campgrounds. These permits fill up fast. You’ll want to apply as early as you can, up to 4 months out. Review the permit requirements and apply here.
Bright Angel Campground
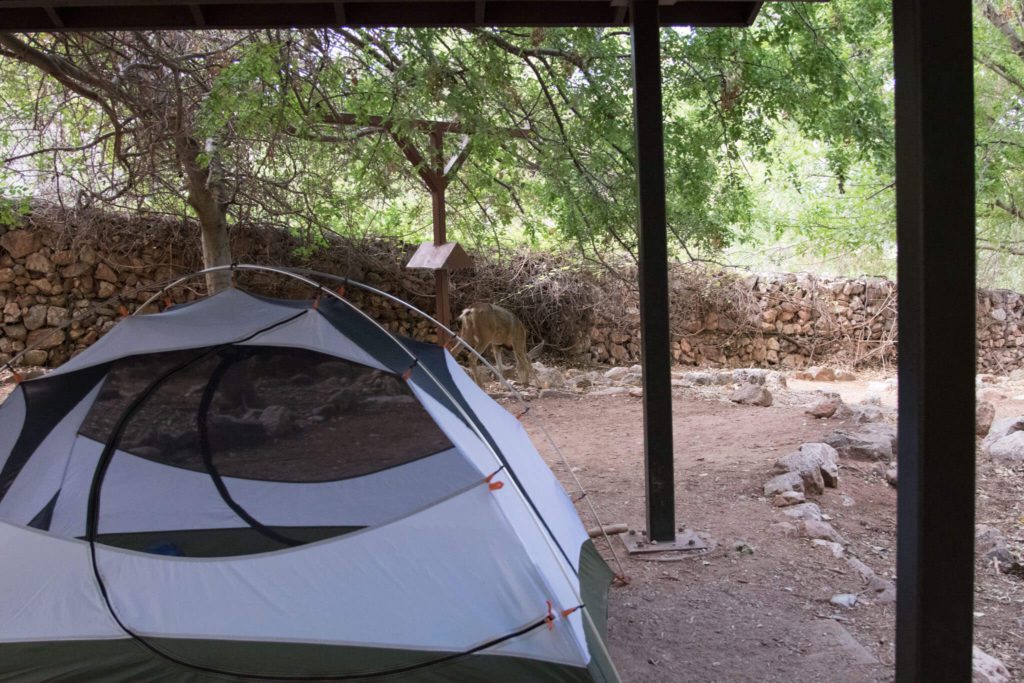
You can stay at the Bright Angel Campground at the bottom of the Grand Canyon. This campground has nice semi-shaded lots, running water toilets and a canteen for purchasing food. It’s a great place to stay. However, if you’re doing this hike, you’ll probably be here around midday and then have the entire uphill hike to complete the next day.
Indian Garden Campground
That’s why we stayed and Indian Garden Campground. This was our favorite section of the hike and we were happy to stay the night here. We got here in the late afternoon which was perfect timing for us to make camp and eat dinner. It also meant that we only had about 4.5 miles of hiking the next day.
If you have ideas of campsite activities, get those out of your head now. You can’t have fires, you won’t want to carry camping chairs and you’ll be too tired to do much anyways. Camping in the Grand Canyon, really is just creating a safe and semi-comfortable place to sleep.
Grand Canyon Hike Itinerary
Day 1 – Down the South Kaibab Trail
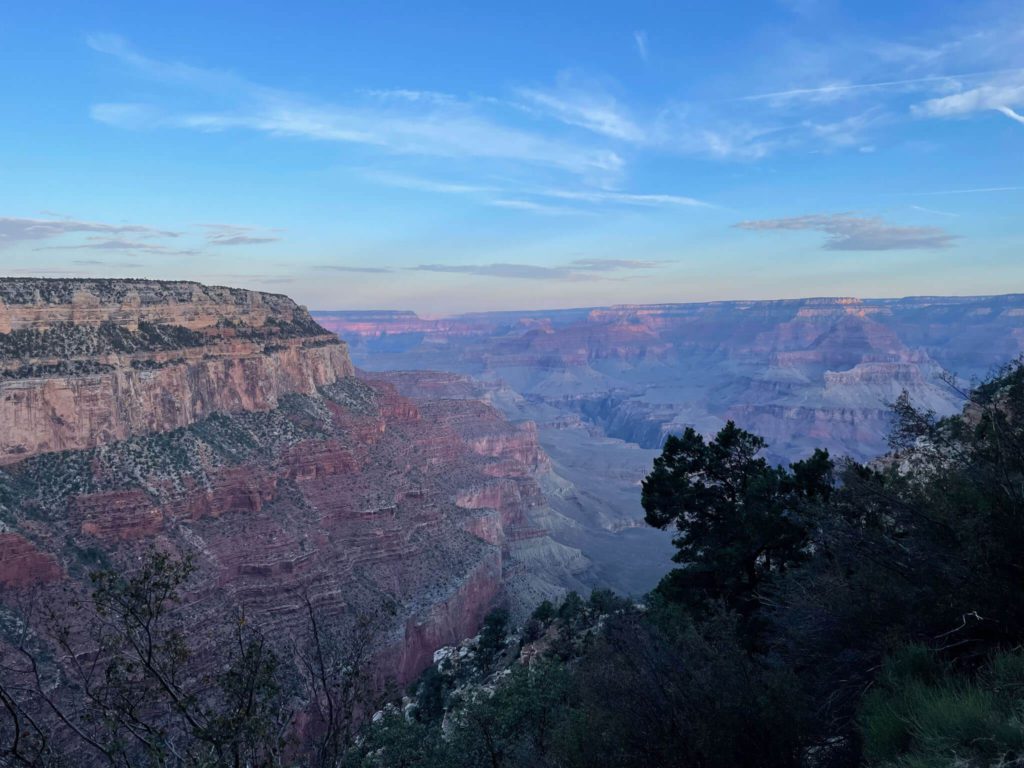
You’ll want to start early at the South Kaibab Trailhead. We meant to be there at 5:30 AM so we’d be in the canyon by sunrise and got there at 6:30 instead. If you can catch the sunrise, it’s pretty cool. We saw it from the top of the canyon and it was still pretty.
Starting Elevation: 7200 feet
The first section of the hike may be the steepest on the South Kaibab trail. It sure felt like it with a lot of switchbacks that get you far below the rim in a short period of time.
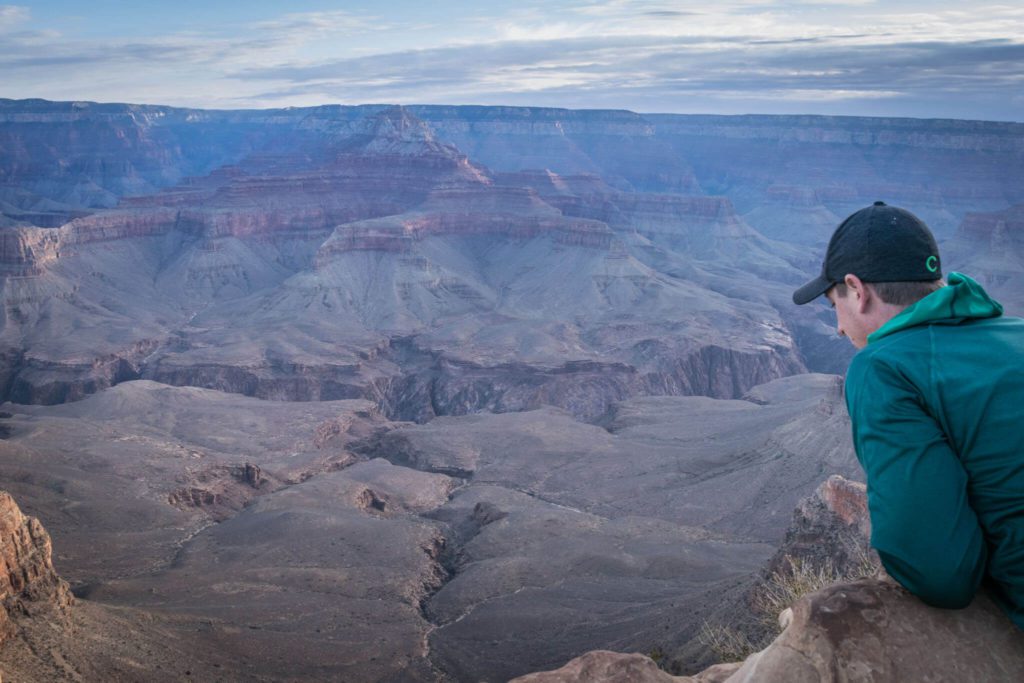
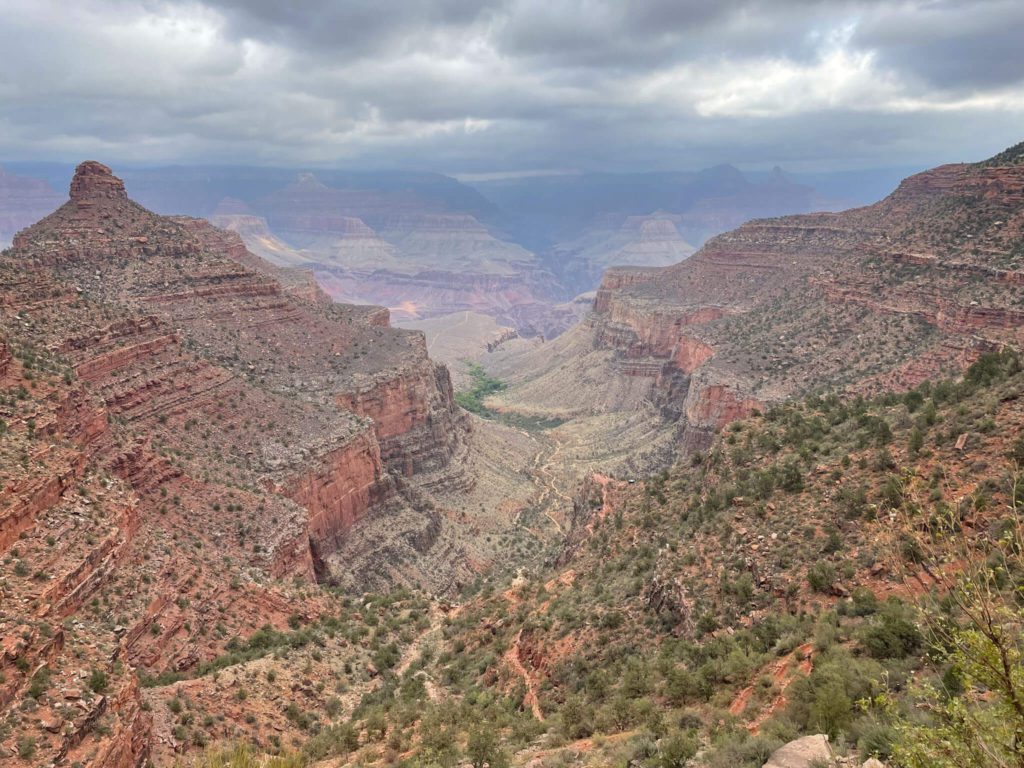
Our first stop was Ooh Aah Point. As the seasoned, marathon running, over achieving, super nice ladies twice our age that we met along the way pointed out (okay so we were a little jealous of their fitness level), This is the “money maker” shot. The view here is of the Tonto Platform stretching below you. Those grassy flatlands appear to be about halfway into the canyon.
Ooh Aah Point: 6440 feet, .9 miles
It’s all downhill from here. We hiked fast and we passed people as we went. But we also stopped a lot. We knew we had two days to complete this and we really took time to enjoy the sights. We stopped at Cedar Ridge to use the amazing composting toilets. Seriously the toilets in the canyon are way less stinky than anticipated. Well done parks service.
Next stop was Skeleton point for a quick snack. You’ll want to remember to eat a lot of high calorie food on your hike in addition to drinking lots of water. We used all of the viewpoints in the canyon as a reminder to have a quick snack and to make sure we were drinking water.
Skeleton Point: 5160 feet, 3 miles
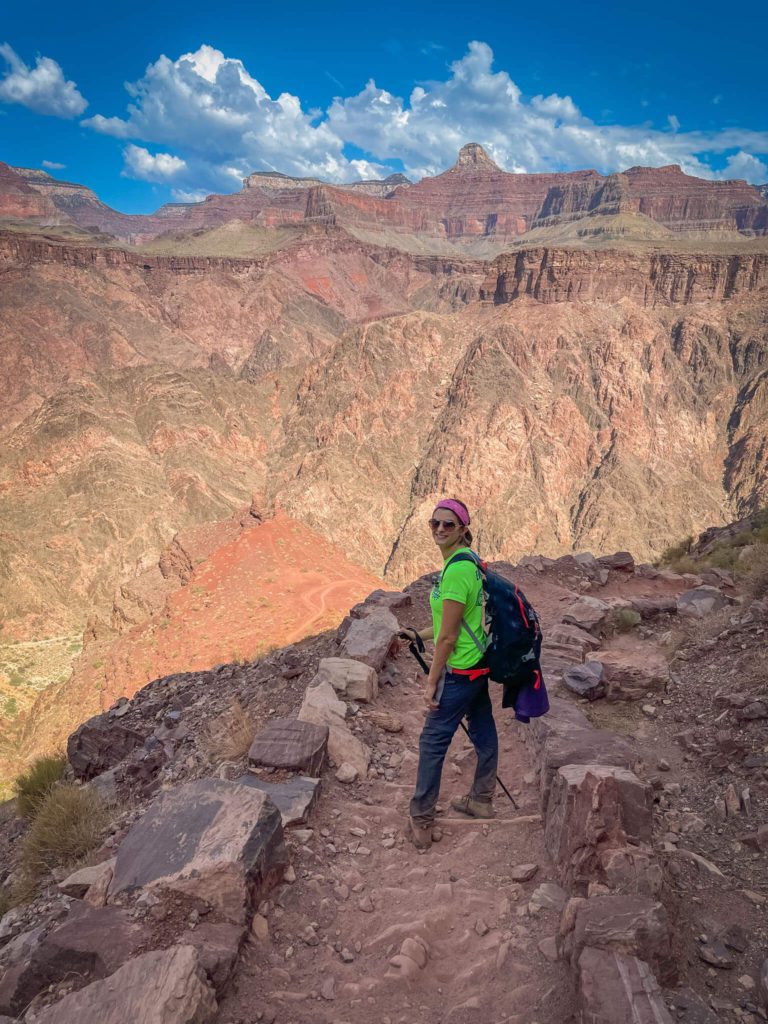
The next section was some of the most fun. It had amazing views, lots of switchbacks and we even spotted a bighorn sheep. We actually heard him before we saw him. One of the coolest parts of hiking the Grand Canyon is the sounds of nature. Because there are so few other hikers, you really can hear many amazing things, like big horn sheep’s hooves.

This section was also one of the hardest sections on my knees. I wore double knee braces on this hike as I suffered a knee injury during my “training” hike on Isle Royale. Yes, big bummer. This section has lots of really strangely spaced “steps” that were unnatural feeling and therefore really hard on the knees. Which is why trekking poles really are a must-pack for this hike. It was also about this time that Scott, who did not think trekking poles were a must-pack, borrowed one of my poles so we each had one for balance.
We stopped at the Tip-Off for about an hour. One thing I’ve learned about backpacking is the importance of taking off your shoes. I love a good “shoes-off” stop. We had a morning snack, sat with our shoes off and talked with people for about a hour here. One of the coolest things about this hike was the people we met. We consider ourselves true “parks people” and everyone on this hike was too. Here, we shared stories of our favorite parks, tips for visiting parks and we waxed poetic for a bit about how amazing the American the Beautiful Pass is.
The Tip-Off is also where you can take the Tonto Trail to Indian Garden Campground. This was our Plan B and we were still feeling good and just wanted to see the Colorado River at this point so we continued on.
The Tip-Off: 2930 feet, 4.4 miles
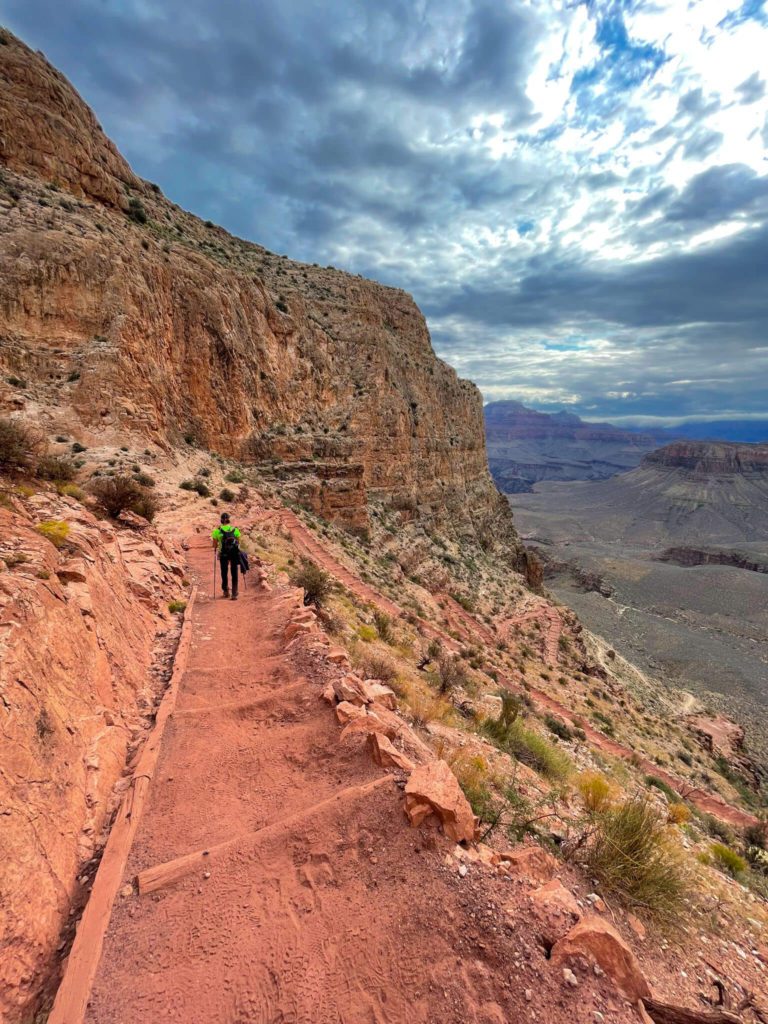
The next section of hiking is another set of switchbacks that takes you from the Tonto Platform down to the Colorado River. This is also where the temperature really starts to soar. Remember how I said that temperatures at the bottom of the canyon can be 20 degrees hotter than at the top. Here’s where we started to feel it. It also doesn’t help that for most people, you hit this section of the hike during the hottest part of the day.
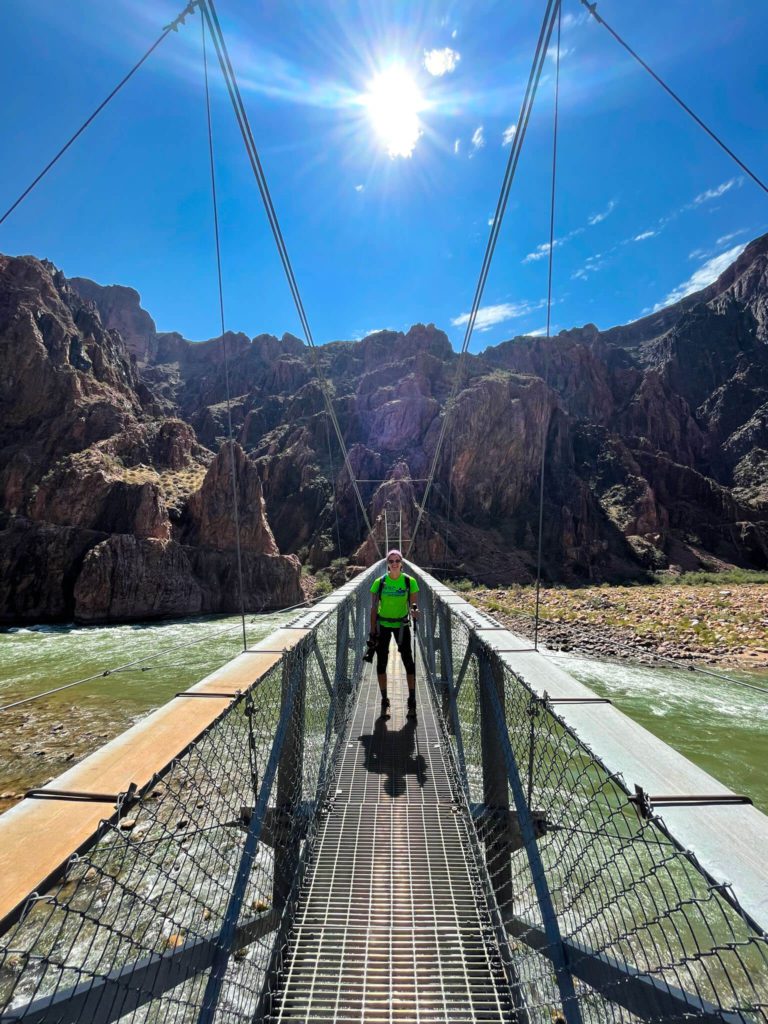
Before getting to Bright Angel Campground, you’ll get to cross a really cool bridge. We stopped to read the really interesting information plaques about how the Kaibab Suspension Bridge was built and how all the materials were transported in via mule.
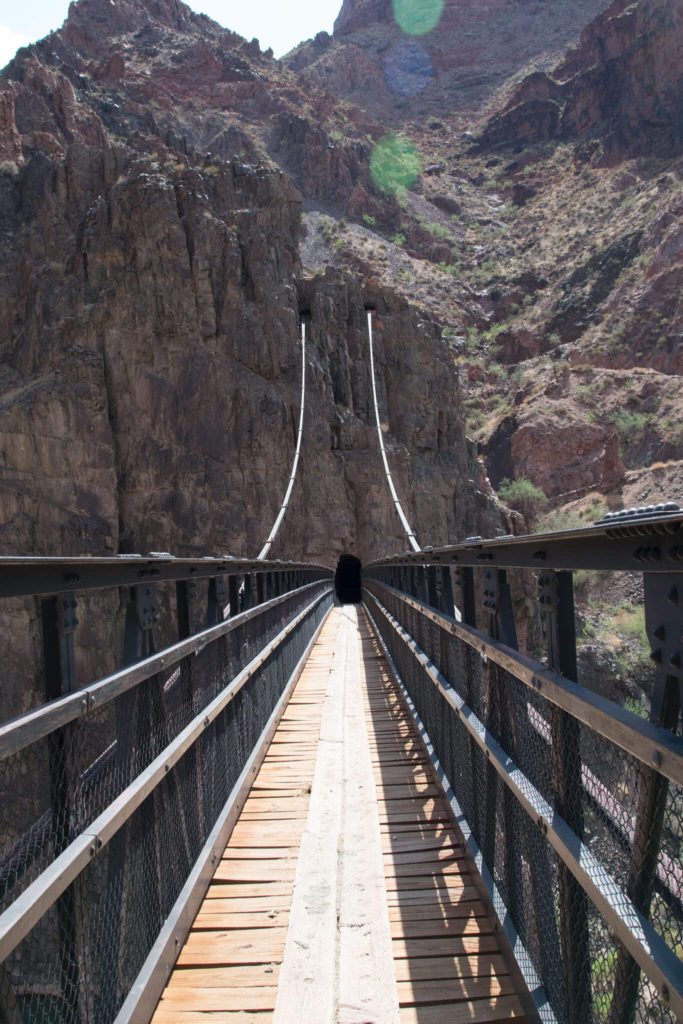
By this point it was mid-day and the legs were shaky from the downhill climb. We stopped here for lunch in the shade. And shade is hard to spot here. There are also spouts here to refill water bladders and **flushing toilets*** (cue angelic choir noises).
Lunch Break
I did lots of research into this hike to make sure I had packed everything I needed, had the proper permits and was fit enough to complete it. However, I never really looked into what was at each stop along the way. I wish we would have known two things about Bright Angel Campground. First, there is this amazing animal called the ringtail (Google it). It’s a mix between a house cat and a lemur. Apparently you can spot them here as they actually are a pest who likes to chew into hiker’s backpacks. Wish I would have had my eyes out for these critters! Second, the canteen at Phantom Ranch has hot water sinks that you can use for free. This means you can pack yourself a dehydrated meal and “cook” it with the hot water at the canteen without having to bring a cooking stove. Bringing dehydrated food (as opposed to regular food) will also save you weight in your pack. Oh this things I wish we knew.
Bright Angel Campground: 7 miles
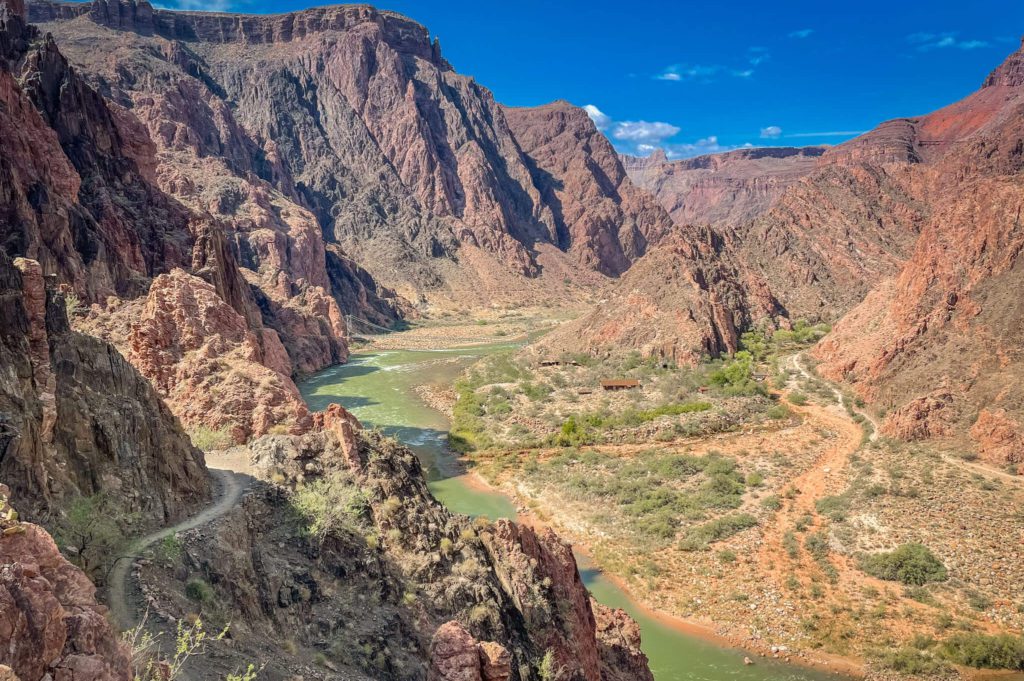
After lunch we started the uphill climb. First we dipped our toes into the Colorado River because I had this weird inclination to do so. It seemed so iconic of a Grand Canyon hike. However, don’t plan on swimming in the River. It’s super cold and really fast moving.
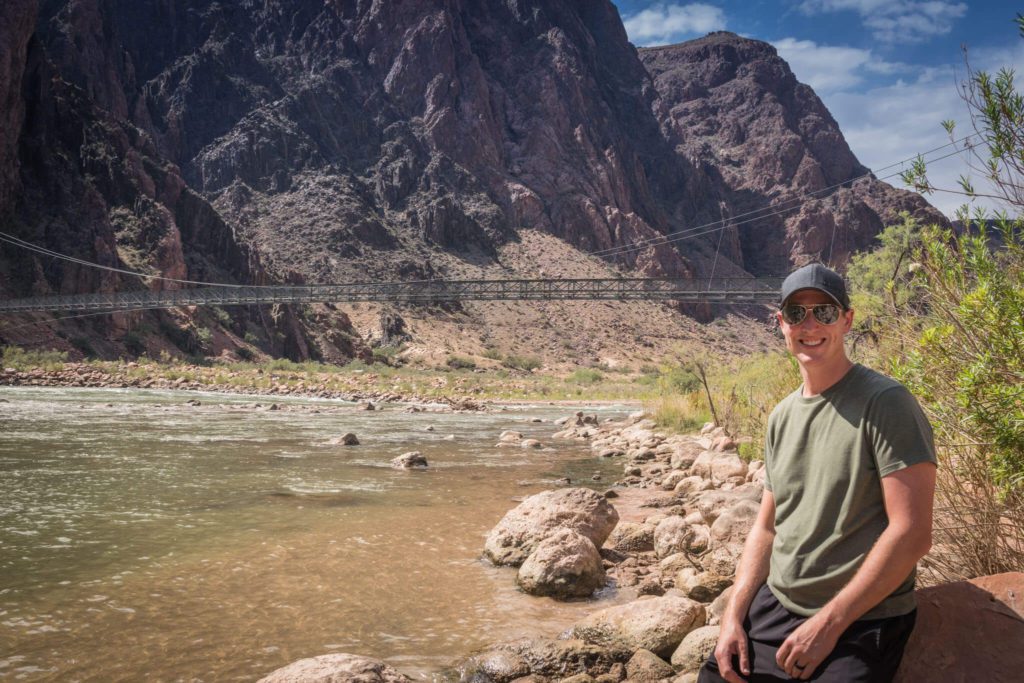
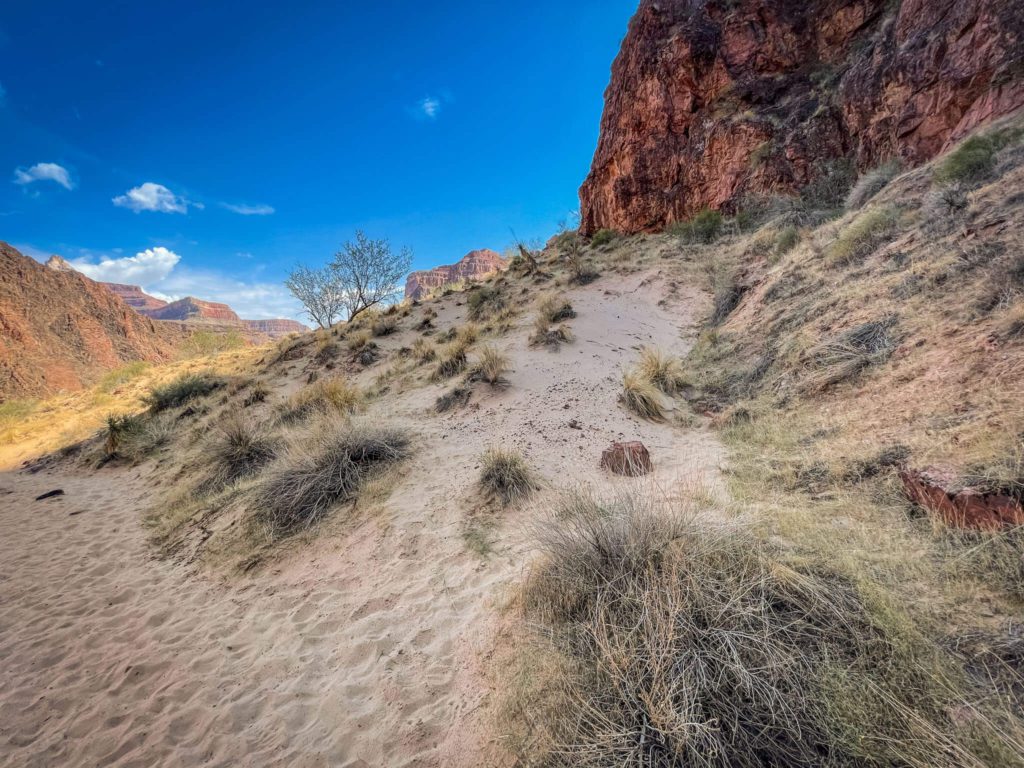
Next, we walked across the Bright Angel Suspension Bridge. Another cool marvel of engineering. It was still really hot and mid-day and this next part of the hike was pretty brutal. It was mostly flat but very exposed to sun. Here’s a thing you probably didn’t know, you’ll find sand dunes and palm(-ish) tree shrubs down here along the river. Hiking these sandy trails is what I can only describe as a load of BS.
Then you get to River Resthouse. Here, they have a nice picture suggesting you dip your clothes in the river to help stay cool. Great suggestion park service! We did it and it really helped. It was here that I started getting a massive headache, presumably from the heat. So we continued to drink lots of water and got out the electrolyte tabs and salty snacks.
River Resthouse: 2500 feet, 8.5 miles
After River Resthouse, the switchbacks start. Apparently this section is called the Devils Corkscrew. A nice tour guide told us this after we finished climbing here and I feel it is aptly named. This was the hardest part of the hike for me. I thought the heat was getting to me (more on that later) and the fact that we were doing this huge elevation gain around 1 PM was really rough. The views here also weren’t that great as you’re tucked in a canyon and don’t get those sweeping vistas like you had on the way down.
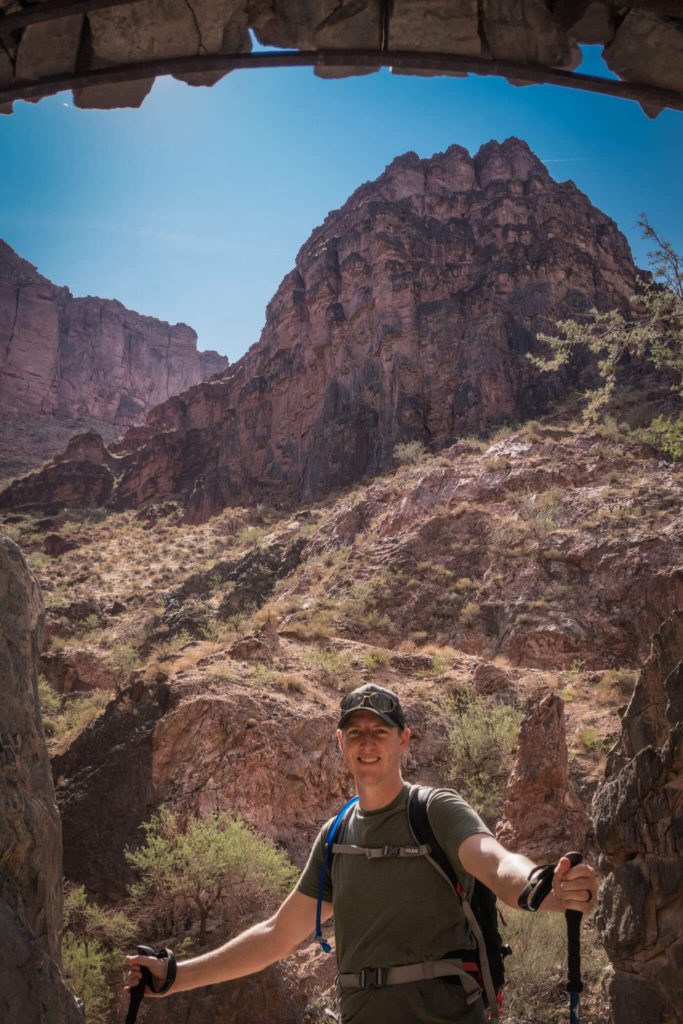
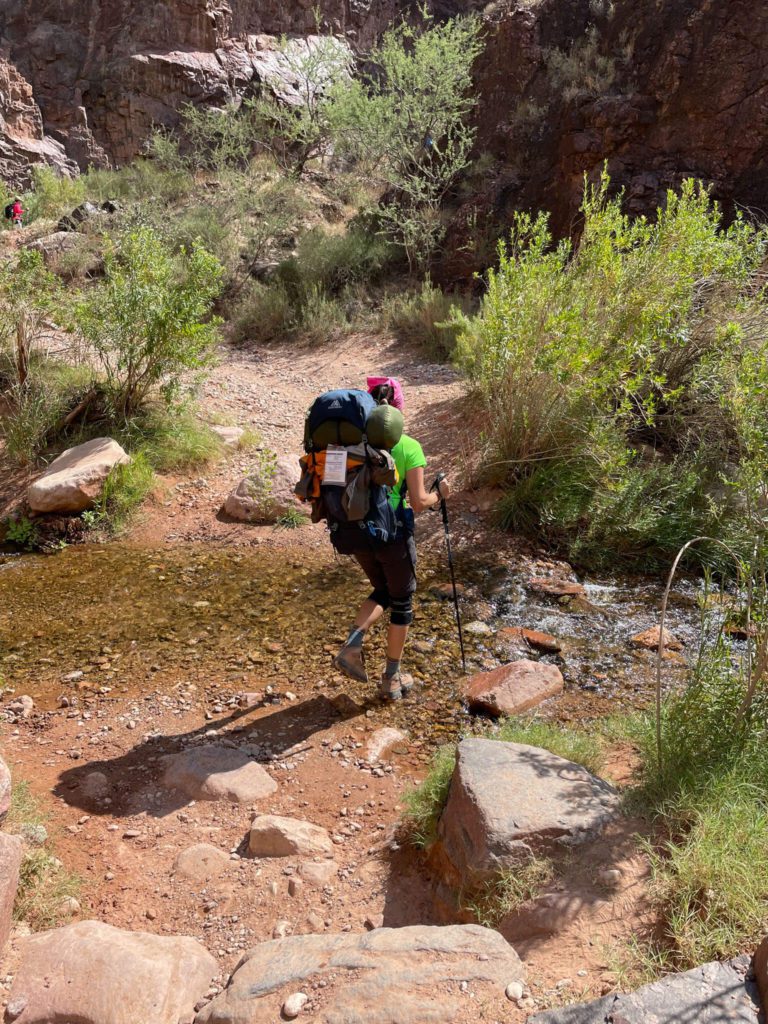
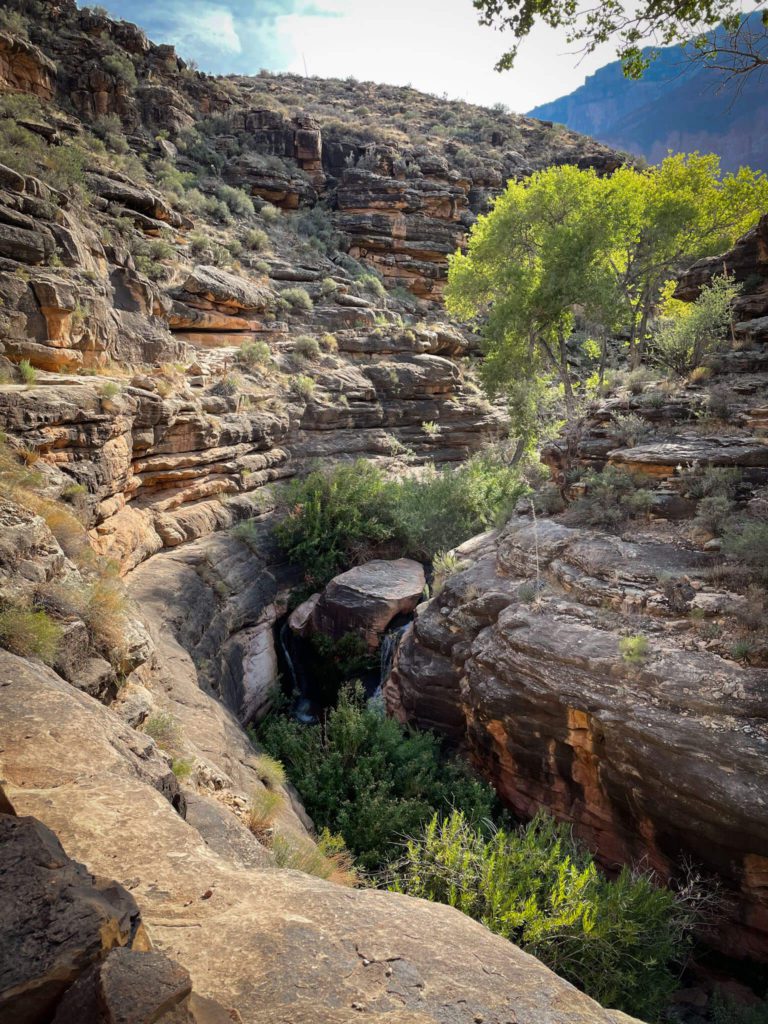
After completing the Devils Corkscrew, we were back on the Tonto Platform and the incline was only mild. Also, we were walking along Garden Creek and the environment here was amazing. This was by far our favorite part of the hike. While you don’t get any sweeping canyon views here, you get this amazing ecosystem that is totally different from everything else in the canyon.
Indian Garden Campground: 3800 feet, 11 miles
Plateau Point Trail
If you have energy and don’t wind up seeking medical treatment, you can hike the 3 miles there-and-back to Plateau Point. There were several groups from our campsite who did that after dinner to catch the sunset. It sounds like it could have been a really fun experience so consider doing that if you have the energy. However, if you’re going to stay for sunset, make sure to pack a headlamp for the walk back.
Day 2 – Up the Bright Angel Trail
The next morning we woke up feeling really optimistic. We had breakfast and packed up camp. Then we were out around 8AM. We had a later morning than anticipated but a nighttime visit to a ranger station will make you sleep in. One thing to know is that there are a lot of water stops on the way up this trail. You should have checked that they were all operating before you left, but if they are, don’t pack as much water on your way up. We only filled our bladders about halfway and only refilled them once. This saved weight for the hike up.
We also left camp abound the same time as the group of 70 year-old women, another couple our age and an adult family of four. I mention this because the hike up is rough and doing it in a group made it a more pleasant experience. The entire way up, we were leapfrogging with these other groups. We’d pass each other and say “see you next time”. Everyone takes lots of breaks on the way up (except those show-offy runners – yes people run these trails). The positive energy coming from everyone on the way up is one of the coolest things about doing this hike. You’re all in this together!
Indian Garden Campground: 3800 feet, 11 miles
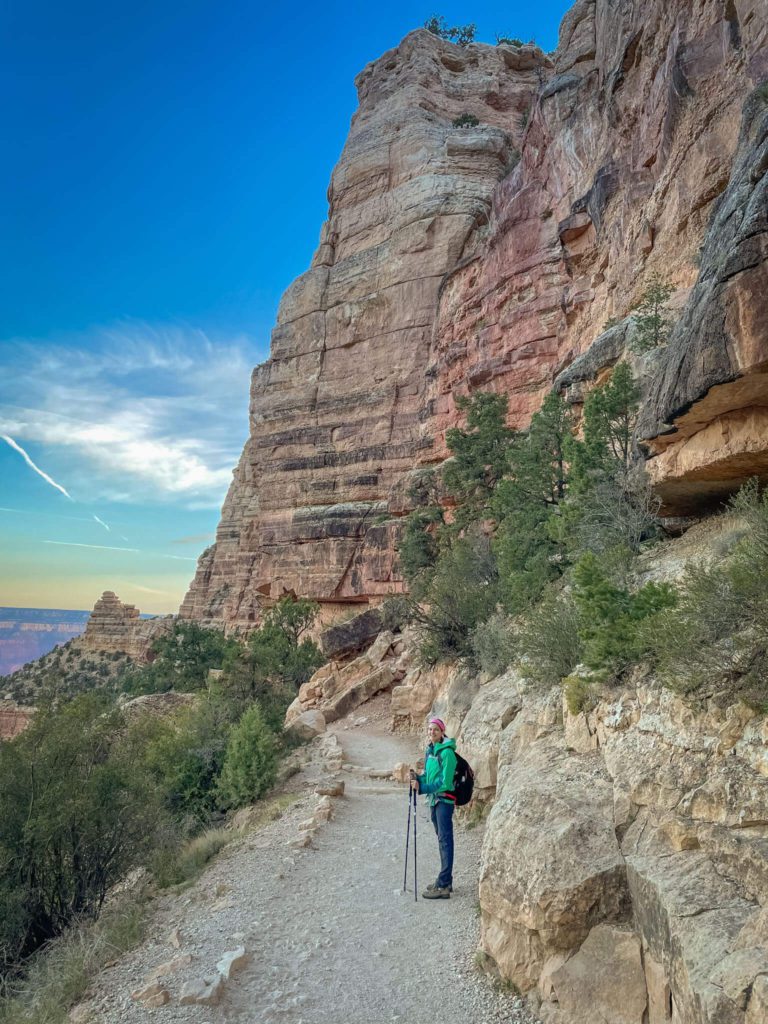
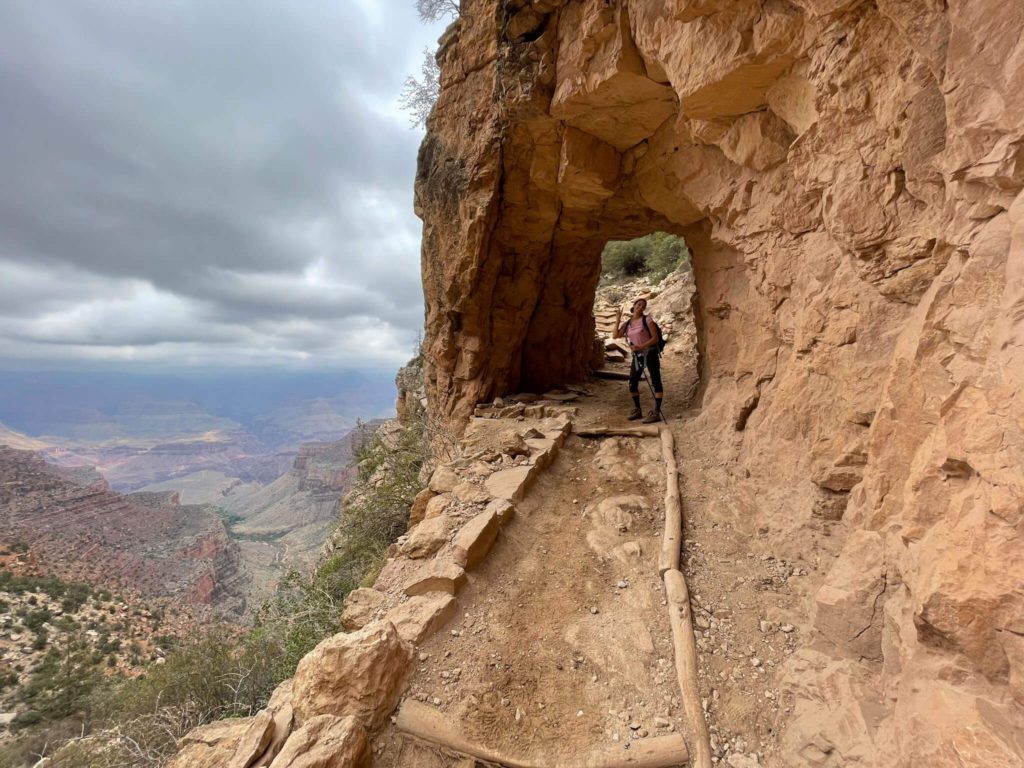
The hike out of Indian Garden wasn’t bad. The incline isn’t terrible and it was cool in the early morning. Then the hike gets steep. You can see this giant wall of rock in front of you and know that you still have to climb that. We had a fun time playing a game of “spot the trail” in the cliff as we were walking.
By the time you get to 3-Mile, you’ll want to sit and rest. We had a snack and an electrolyte drink here with a shoes-off break for me. There are also toilets here that you’ll want to use. The trail gets busy from here on up and there isn’t really an option of stepping off the trail to make your own toilet as you’re climbing up a cliff face.
3-Mile Resthouse: 4720 feet 12.5 miles
After 3-Mile Resthouse, the trail is steep. We started counting the switchbacks to pass the time and lost count after 25. Also, we started doing a short breath-deeply-and-take-a-drink stop at the corner of every switch back. We stopped at 1.5-Mile Resthouse for another short break. Here the toilets were disgusting. Hiking here and back is a common day trip and these are probably the most used toilets in the canyon. Hold it if you can.
We had a short morning snack here but by this point we were just ready to power on and be done. So we kept it short and sweet.
1.5-Mile Resthouse: 5720 feet, 14 miles
The last section was one of the worst physically. The trail is steep and you can see the top but you just keep walking. Even when you think you should be done. However, this was one of the most rewarding parts of the hike. We were still leapfrogging with those same groups we had been with all day. And now it because a fun game of “see you at the top” when you passed people.
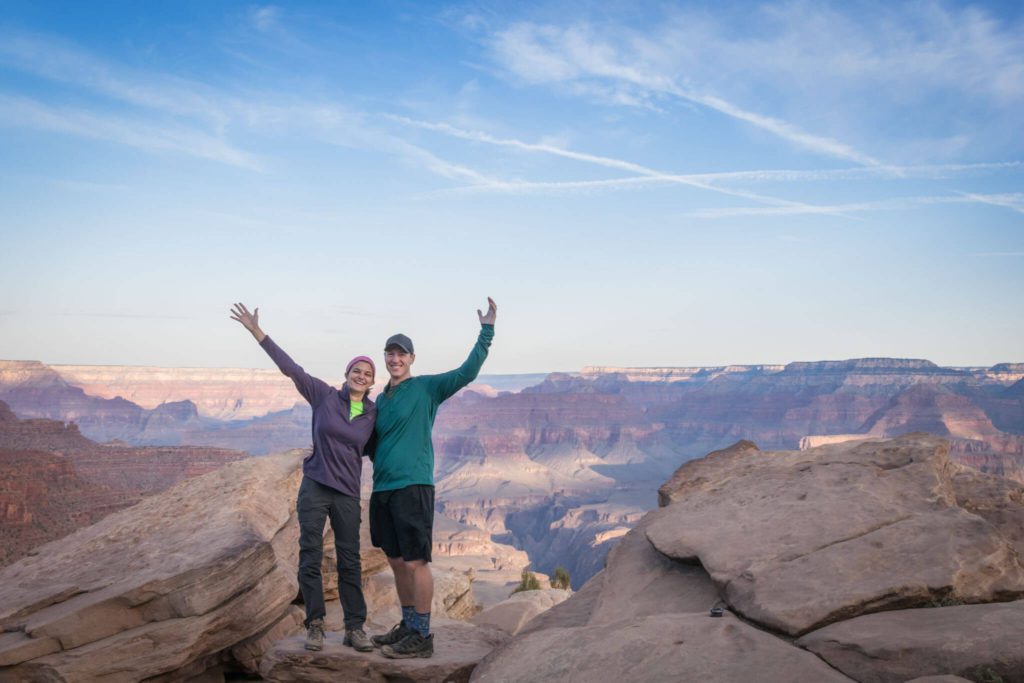
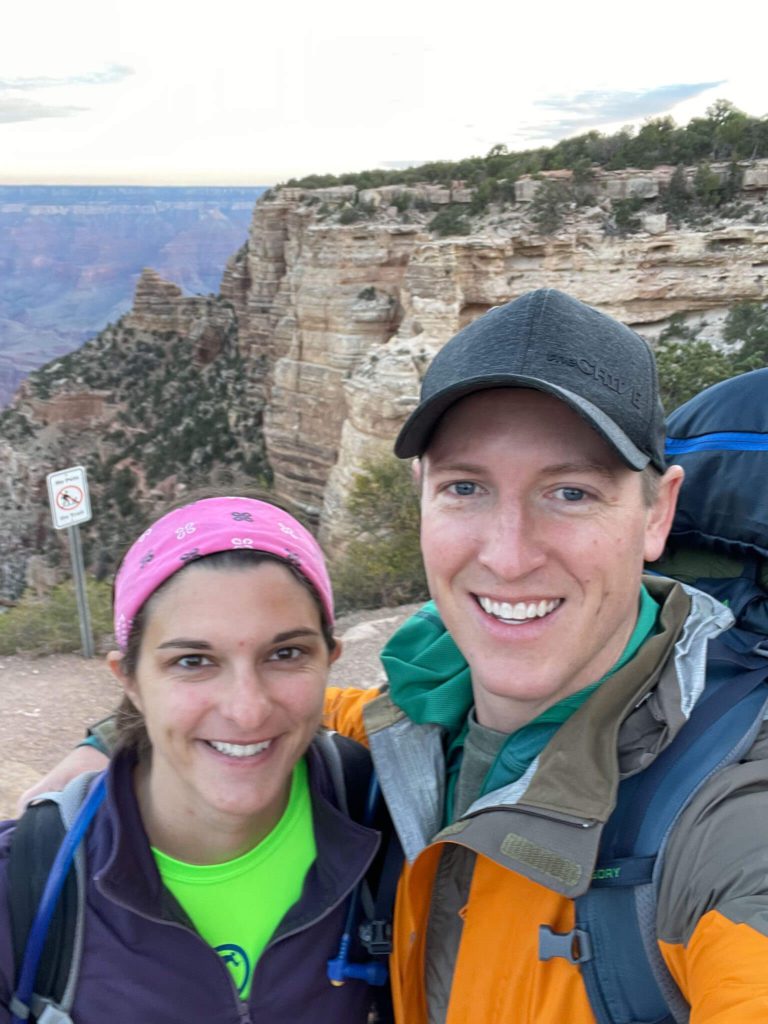
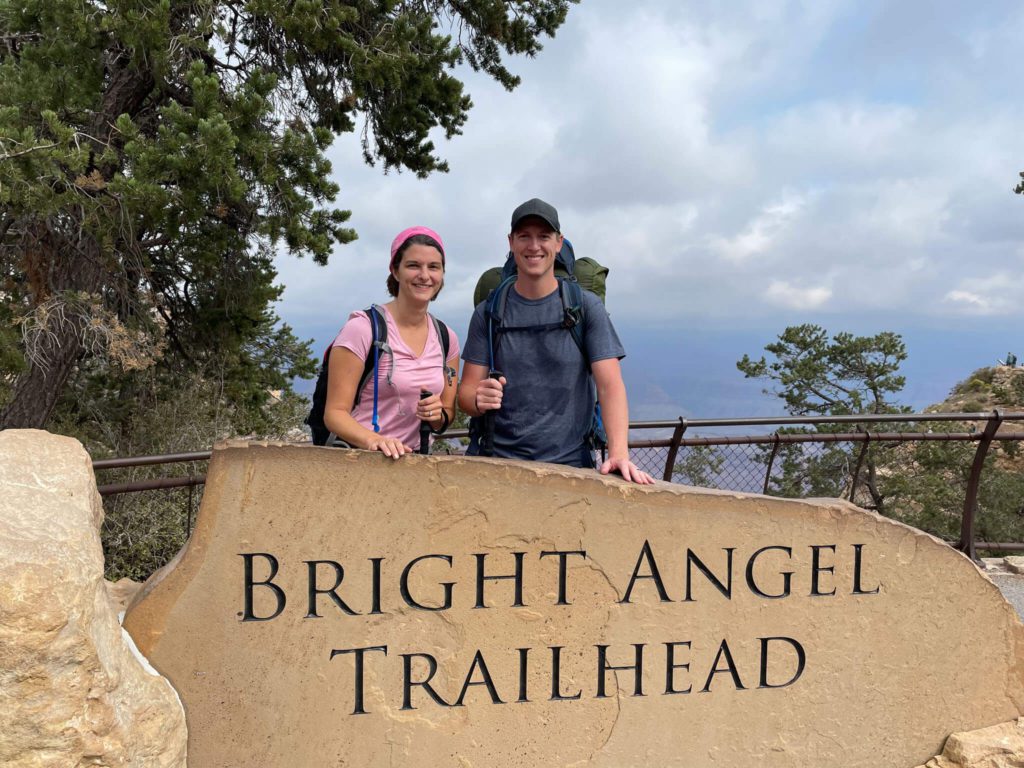
Then we were at the top! And we were there with people we’d seen all day. There was cheering. People clap as you come up. We were a giant group of strangers who did this really silly thing of climbing a canyon but you all feel accomplished together. It was a really great moment. Then we all took turns enjoying the view from the top, saying we’ll never do it again, and taking photos with the sign.
We did this complete hike in 12.5 hours, including all of our stops for food, shoes-off time, and bathroom breaks. This doesn’t include the camping time.
Ending Elevation: 6840 feet
Total walked: 16.5 miles
So How Hard Was the Grand Canyon Hike?
Hard. I will not sugar coat it. This was the hardest hike we’ve done because of the elevation change. One woman at the top said that it was harder than giving birth to her second child but easier than the first child. Many people do this hike regularly, we will not be one of them. While the views were great, the difficultly of the hike really didn’t justify the wow-factor of the things we saw. That being said we’re happy we completed this bucket list experience.
Also, we will say the trails were really well maintained and well marked. We’ve hiked some way worse trails. So the trails didn’t contribute to the difficultly of the hike at all, it was definitely the elevation change.
Can you Hike the Grand Canyon?
What we really learned on this hike is that hiking is for everyone. There were people of all ages here. We met someone who was 85 and we met babies being carried by parents. We also saw lots of people with leg braces on, like me. So age and the condition of your body really don’t seem to be a factor.
What is a factor is your general fitness level. Can you walk up and down the stair 900 times while carrying 10 pounds? Cause that’s basically what you’ll be doing.
I put on my pack and ran up and down the stairs three times and wasn’t breathing hard so I thought I was good without additional training. And I was… but also wound up seeking medical treatment so… It’s not a scientific experiment but it’s what I did. Scott biked 5 times a week for 6 months to train. This was a good idea. He hiked this with more ease than I did.
What to Budget For Your Grand Canyon Hike
To do a Grand Canyon hike, you’ll need a decent amount of backpacking gear – regardless of how long you’re spending. And that stuff comes with a price tag. So if you haven’t already accumulated that stuff, you’ll have to set aside money for equipment. Read our full Grand Canyon packing list here to get an idea of things to pack and prices.
Grand Canyon Admission
You’ll also need to set aside funds for your parks pass. A 7-day Grand Canyon pass will cost $35. OR if you’re planning on visiting other National Parks, like the nearby ones in Utah or Arizona, please save yourself money and time and buy the $80 America the Beautiful Annual National Parks Pass. It gets you into all National Parks and public lands for a full year.
Overnight Stay
If you’re staying overnight in the Canyon, you’ll also need to budget for accommodations. I’ll ignore the budget for those of you planning on staying at Phantom Ranch as a simple Google search will show you exact rates for your dates. What most hikers will do is camp. To camp anywhere in the Grand Canyon, including in the campgrounds, you’ll need a backcountry permit. The cost for this is $10, plus $8/night per person. So two people camping for one night will cost $26.
Food
If you plan on grabbing food at the canteen at Phantom Ranch, you’ll want to pack some cash. Keep in mind the steep prices are due to the fact that everything has to be brought down on mules. All other food will be bought by you ahead of time. To see some food ideas, check out our packing list here.
Safety
There are sooo many signs urging you to be safe. Some are really obvious – like make sure to pack enough water. Some are less obvious – like don’t attempt the hike down and out in one day. While you may not heed all of the safety warnings, at least be aware of them and be honest with yourself about your own abilities and needs. While this hike isn’t the hardest hike we’ve ever done, it is the most strenuous. Over-prepare yourself for this Grand Canyon hike so you have the ability to complete it.
First, don’t underestimate the time it will take to hike out. A rule of thumb is to give yourself twice as much time to hike out as you took to hike in.
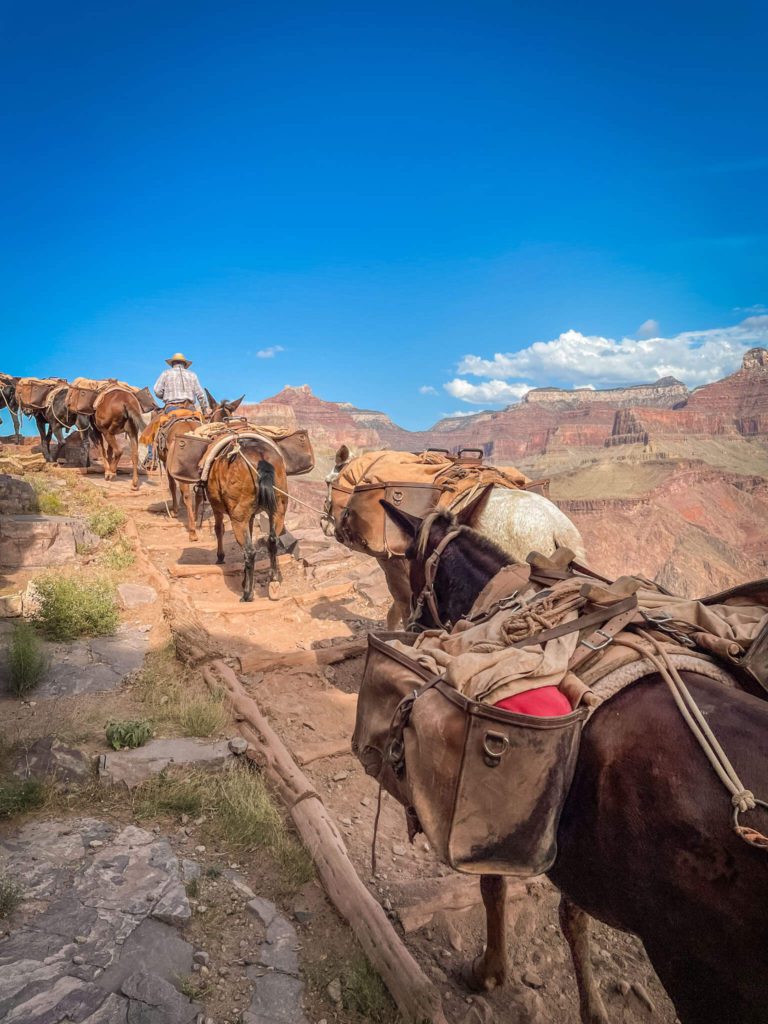
Isn’t it fun that as part of the safety part of this article includes a section about MULES? These mules carry people who are more intelligent/lazy than me and Scott. They also carry things: supplies in and trash out. When they are on the trail, they have the right of way. If you come across a mule group, step into the canyon wall and the mules will pass on the outside edge.
Also, walk at a comfortable pace so that you aren’t straining for breath and take little stops to catch your breath. You need to be able to breath to complete this hike.
Pack for Safety
Make sure you pack storage for enough water. Hard No – to the people I saw descending with one bottle of water in their hand. Read our packing list for an idea of how much water we used and what we’d recommend.
Rest and eat often. We stopped anytime there was a rest stop so that we could have a small snack. You won’t really want to eat large meals. Instead frequent small snacks are best. Try high calorie and high sodium snacks to keep you hydrated and energized.
Pack a complete first aid kit. Prepare for anything you may run into in the Canyon, as well as things that may happen in the course of a normal day. Check out our packing list here for details.
And there it is, our Grand Canyon hike all summed up with some things we learned along the way. We wish we would have known all of this before we went. So I truly hope that this post will help you to plan your hike and make it an enjoyable experience.