One of our bucket list goals is to visit all the National Parks in the USA. Because we are parks people! We love the beauty, wilderness, adventure and amazing people that we’ve come to associate with the National Parks. So when Scott and I decided that we wanted to do a “training” hike for our upcoming hike into the Grand Canyon, we thought the best place to do this would be Isle Royale. We’d get some backpacking skills in, discover how much I would complain about carrying things, and test out some of our new camping gear – all while checking out another amazing National Park. So we decided to spend four days hiking Isle Royale National Park in June.
Hiking Isle RoyaleToggle Table of ContentToggle
We picked four days because that’s the kind of vacation time we could manage. Then, we picked June because that’s when we had weekends available. Next, we chose a random route because we couldn’t find a lot of information on the internet about hiking Isle Royale in 4 days. Overall, I’d say we were just up for whatever adventure Isle Royal had to give. However, when we were on the island, we had to change our plans several times due to weather, campsites, trails and our own physical abilities. So because there isn’t a lot of info out there on Isle Royal hiking routes, we wanted to share ours with the world as it fits nicely into four days and a moderate skill level.
Hiking Isle Royale
I have never seen more challenging hiking trails in a National Park than the trails on Isle Royale. This wasn’t because of the elevation gain (hiking the Grand Canyon wins that award), and it wasn’t because the trails were dangerous, it was simply because the trails are not well maintained. They say they are maintained. And they do clear out fallen trees. However, the mud on these trails was crazy. Also some of the trails go over rock and that rock is not always even. So the angle and the hazards of the trail made this hike really rough on the knees.
However, one of the best things about hiking Isle Royale is the remoteness of the hikes. You can go hours without seeing a single person. However, you are likely to see some amazing wildlife that is not at all afraid of you.
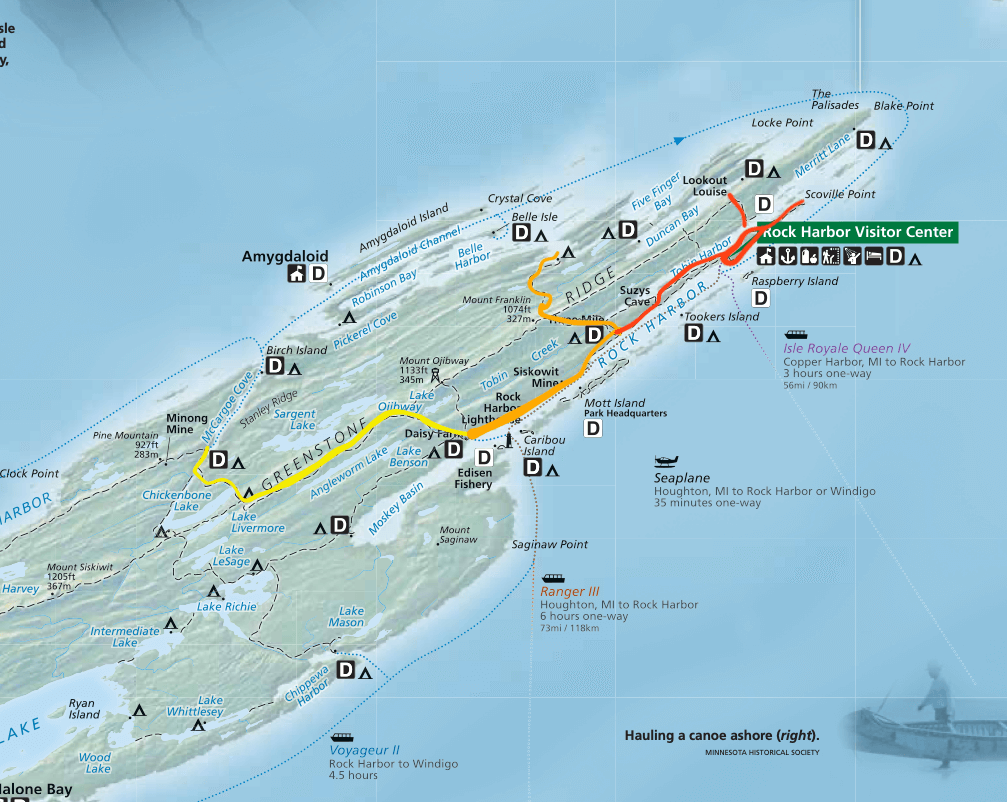
4 Day Hiking Route on Isle Royale
We spent four days hiking Isle Royale. The route we used was a great route for this amount of time. We hope this helps you plan your own 4 day Isle Royale itinerary.
The map above shows our intended route. While we didn’t hike all of it, there would have been time to hike it all. Yellow is day one. Orange is day two. And Red is day three.
The Ferry
First, we caught the Voyageur II ferry very early in the morning which took us from Grand Portage, MN to Windigo. This is the first stop on this ferry’s route. All passengers were required to depart and submit a trip route to the park rangers. Once the ranger had our route and saw our America the Beautiful Parks pass, we got our backcountry permit to take with us. If you don’t have an America the Beautiful Pass, you’ll want to pay your permit fees ahead of time. Then we got back on the boat.
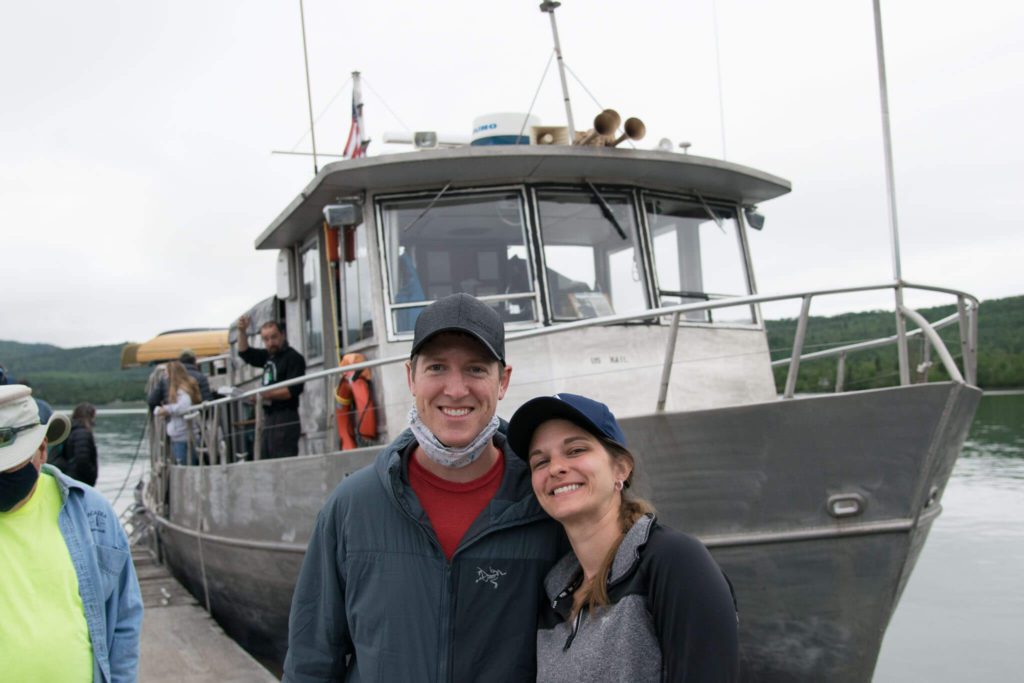
Arriving On Isle Royale – Day 1
Around lunch time, we were dropped off at McCargoe Cove. This is on the north side of the island around the middle. Before getting started we sat down and enjoyed a lunch right there.
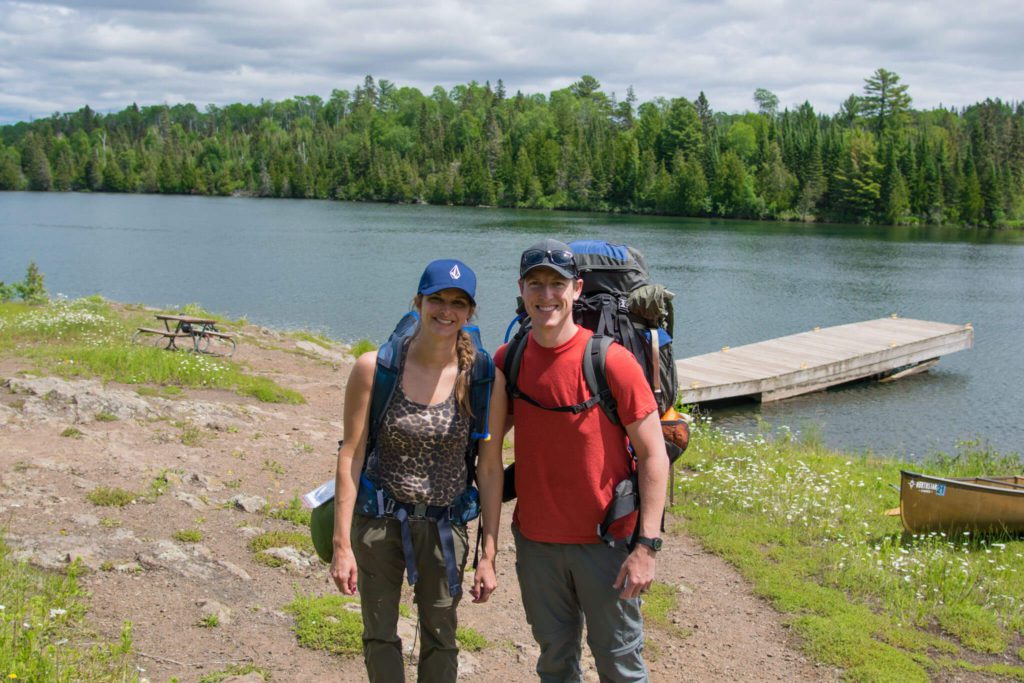
From there we hiked along the North side of Chickenbone Lake. This was the best part of our experience hiking Isle Royale because it was filled with neat animals.
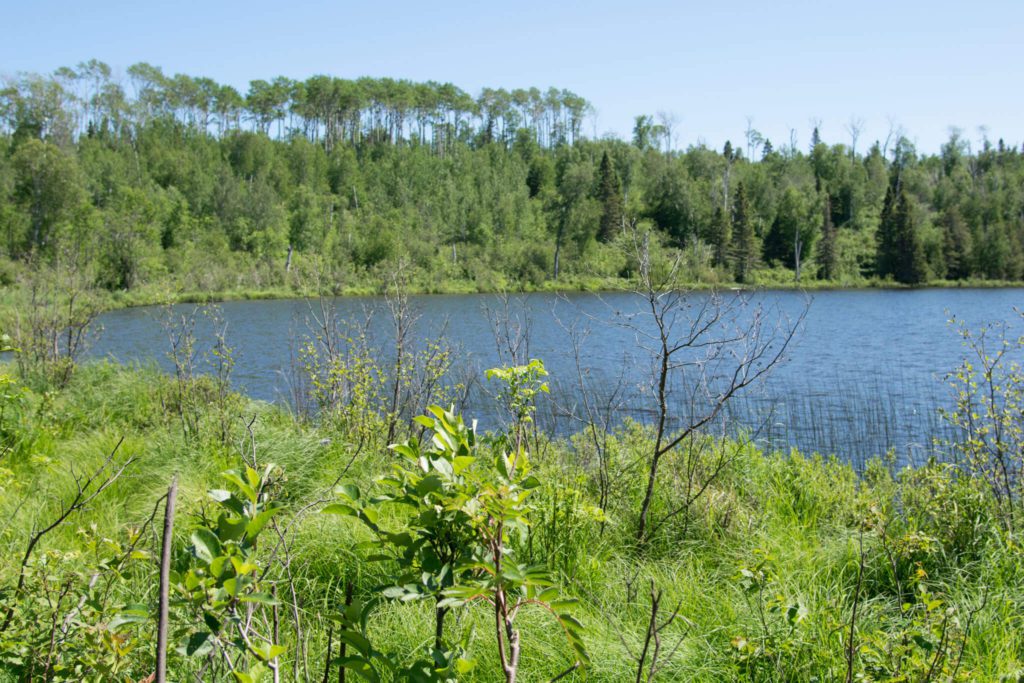
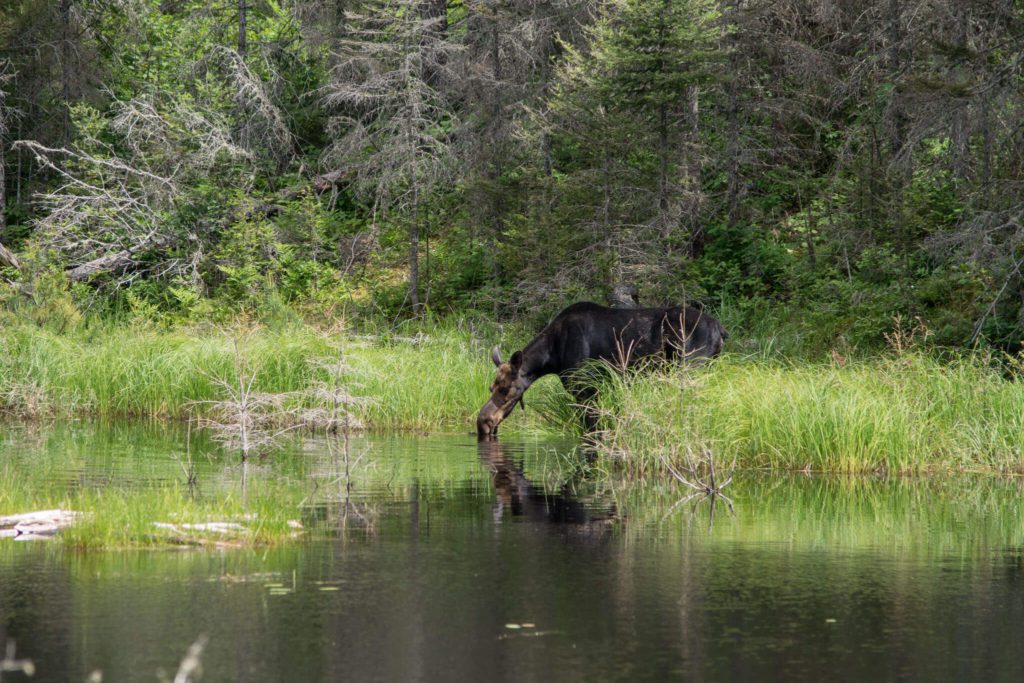
About 20 minutes after we started hiking, I hold Scott to be quiet as we came around a corner because it was “prime moose spotting territory”. Scott then said, “like hel-well I’ll be” as we came around a corner and saw a moose. It was great.
After seeing our first moose, there was a very muddy section of trail with lots of makeshift bridges over the mud. We were in a very swampy area when we spotted a beaver about a foot from the trail bridge. He was huge! And swimming towards us. We froze and I chanted “tail slap, tail slap” over and over in the hopes that he would put on a show. He didn’t so I started walking and then he somersaulted and did a tail slap right at me. I shouted a loud swear (sorry boy scout troop on the trail ahead) and then was so excited to get this front row slash-zone seat to a beaver tail slap.
After the Chickenbone Lake area, came the hardest part of our hike as we climbed some serious elevation to the Greenstone Ridge trail.
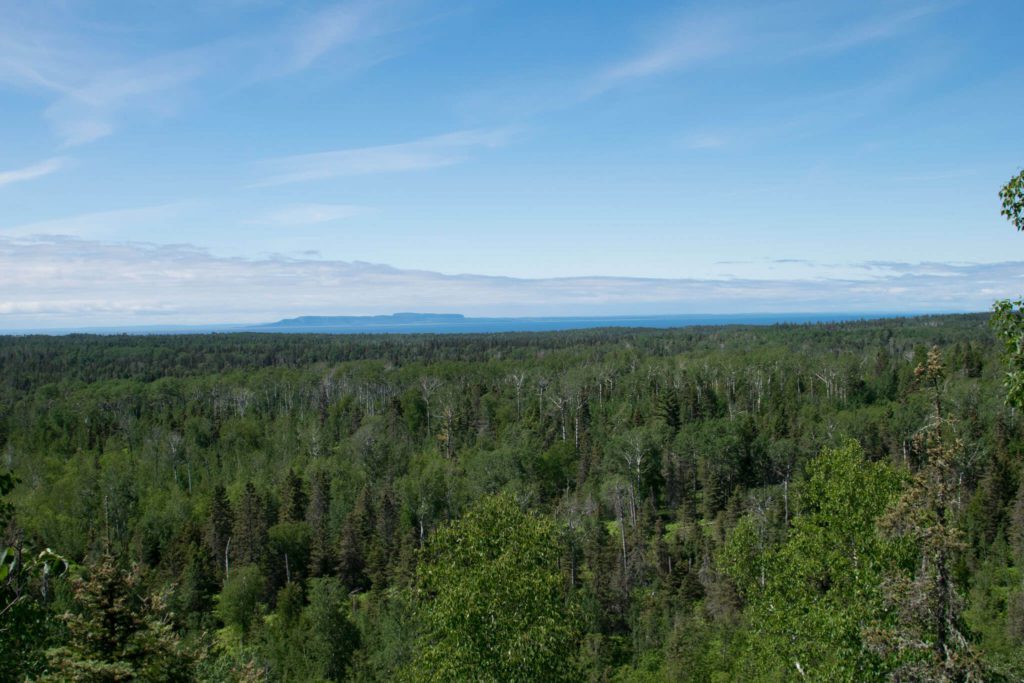
Then we hiked along the Greenstone trail for the rest of the afternoon, before going downhill to Daisy Farm. We camped our first night at Daisy Farm. This was a very full campsite and it was the only night we weren’t able to get a little cabin shelter.
We had dinner, filled our water bladders and went to sleep.
Hiking Isle Royale – Day 2
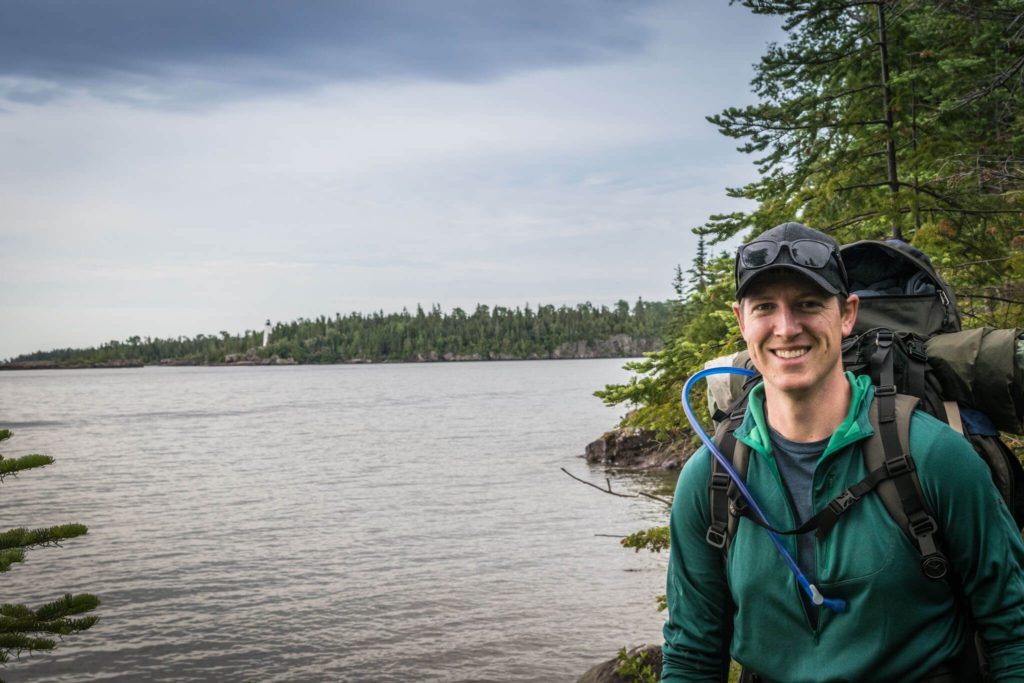
The next morning we work up and hiked along the southern shore of Isle Royale to the Three Mile campsite. This section of the hike was relatively flat but was still hard on the knees as we were walking along slanted rock for a long time which was just awkward.
Once we got to Three Mile campground, we snagged a shelter and set up camp. We had lunch at the picnic table outside our campsite and relaxed a bit. Then, we seriously lightened our packs by leaving almost everything in our tent. We took our food and water with us and left everything else behind so we could travel light for the rest of the day.
Then we hiked uphill toward the Greenstone Ridge trail. We had intended to hike on to Lane Cove but my knees were so sore and it was raining and the waterproofing on our pants and boots had expired. So instead we turned around and I am so happy we did. Once again, I pointed out to Scott another prime area for moose spotting. No moose was there but there were tracks on the trail. And then we spotted it!
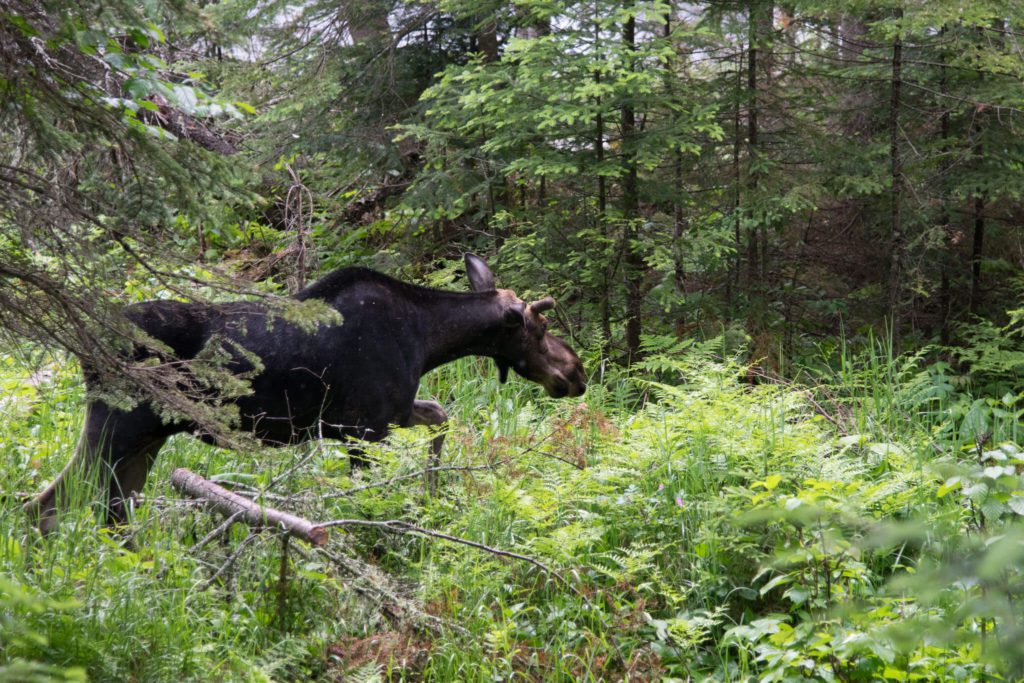
We were on the trail and the moose started walking towards us. First, we tried backing up and the moose kept coming. So we got off the trail, which is normally a no-no but we thought it necessary. The moose still kept coming, so we ducked behind some ferns and the moose went on his merry way. We then followed behind him at a more comfortable distance and watched him go swimming, which wasn’t nearly as graceful as you may imagine. This was such a cool sighting as my main goal for hiking Isle Royale was to see a moose go swimming. And we DID!
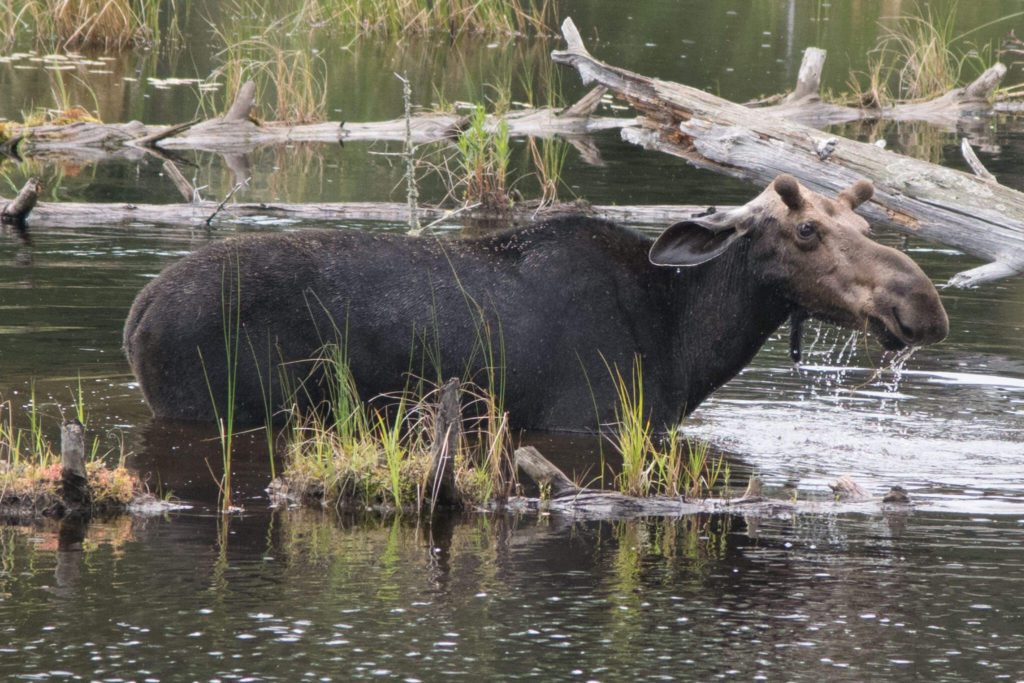
Then we hiked back to Three Mile campsite and ate dinner and went to sleep.
Hiking Isle Royale – Day 3
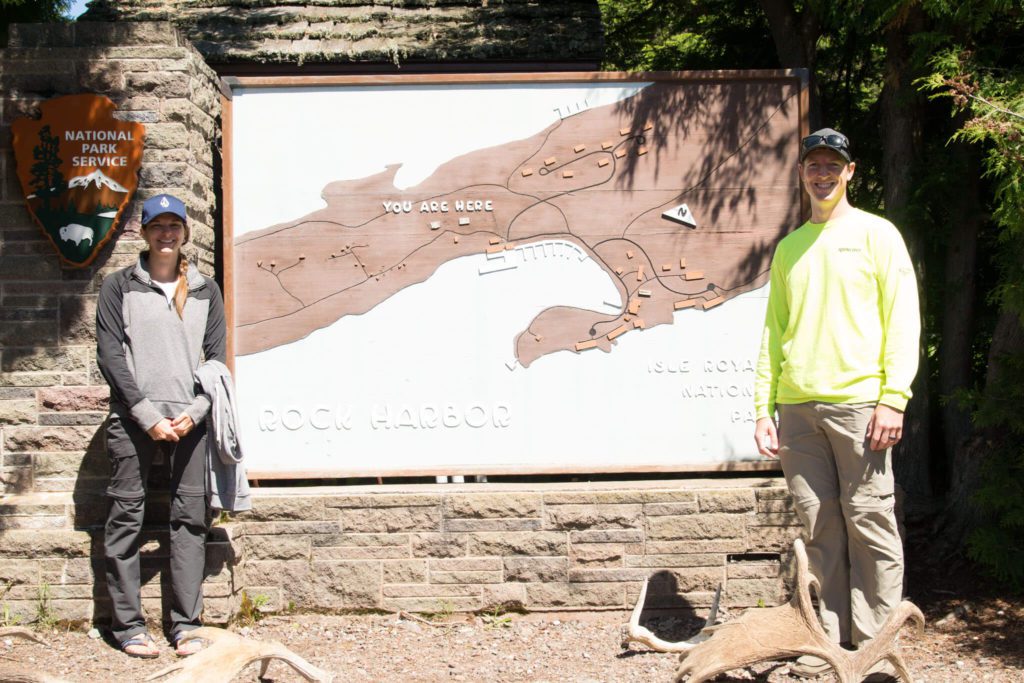
We ate breakfast packed up camp and set out for our final day of hiking Isle Royale. Next, we walked along the lakeshore to the Rock Harbor Visitor Center. This was the easiest section of the trails that we hiked. Everything was flat and well groomed. You could tell we were getting closer to the Visitor Center just by looking at the trails. We also came across the most people along this section of the trail. It was also the boring-est section of the trail.
However, at the end of this section was running water! Oh how the toilets did flush! After flushing toilets and washing hands, we found another campsite at Rock Harbor with a nice shelter and view and dropped our packs once again.
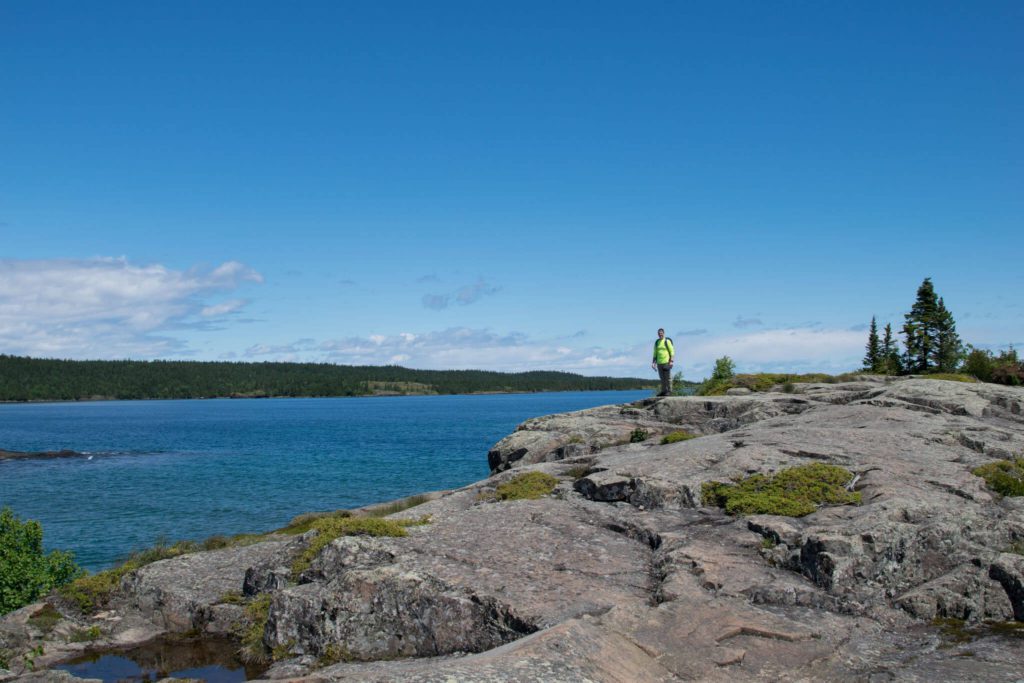
Next, we headed out to Scoville Point. This is a popular hike for day trippers to so it was more crowded that other trails. But it was still really pretty at the point of the island. So we had lunch here and enjoyed the view.
Next, we headed back to Rock Harbor to rent a canoe/kayak from the Visitor Center. We wanted to paddle across the bay and then do the short hike to Lake Louise from the dock. This would have fit nicely into the day and Lookout Louise is supposed to be a stunner.
Unfortunately, the wind speed was too high and they were not providing rentals at that time. We thought about doing more hiking and instead opted to play cards and eat through the rest of our food as the hiking near Rock Harbor hadn’t impressed us.
Return Journey – Day 4
The next morning, we woke up and caught the ferry bright and early. The ferry ride back was horrible, just because it took soooo long. We ate a lunch we packed on the ferry ride back. We got back to Minnesota in the afternoon. Then we promptly checked into our hotel, took a shower and went into Grand Marais to eat dinner.
Want to Adjust the Itinerary
The Greenstone Ridge Trail is by far the most popular hike on Isle Royale. This trail goes from one end of the Island to the other across 42 miles. This was the hike we originally planned on doing. However, this hike is typically done in 5-7 days. As I’d never been backpacking before, this was not something we wanted to fit into 4 days. However, if you have more time and are committed to this trip, this may be the route for you. You can get dropped off in Windigo Bay and picked up at Rock Harbor.
Camping on Isle Royale
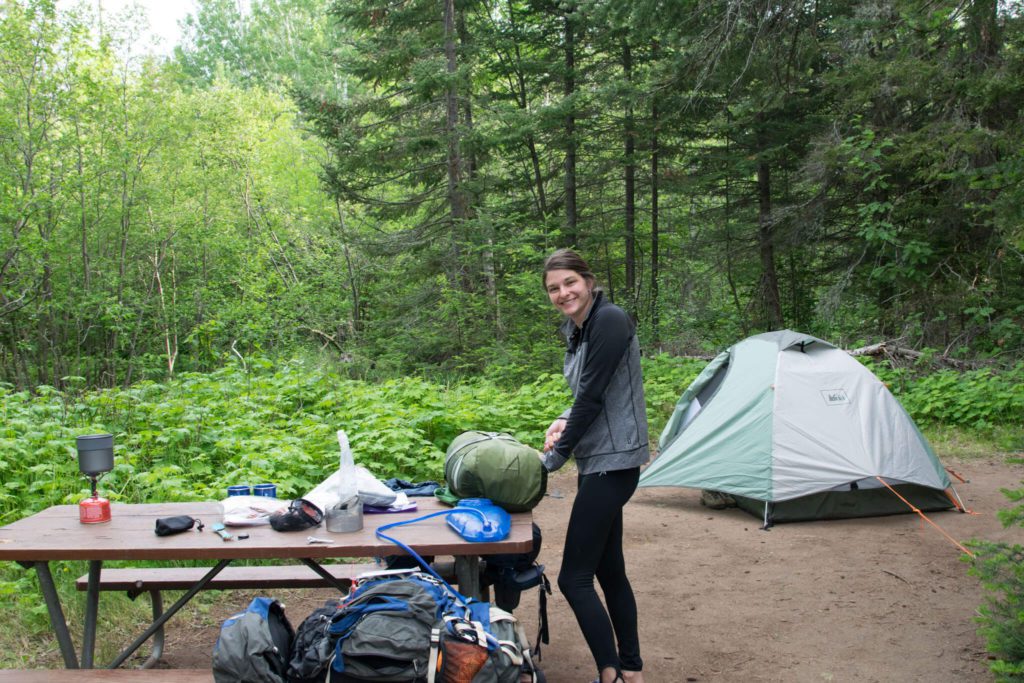
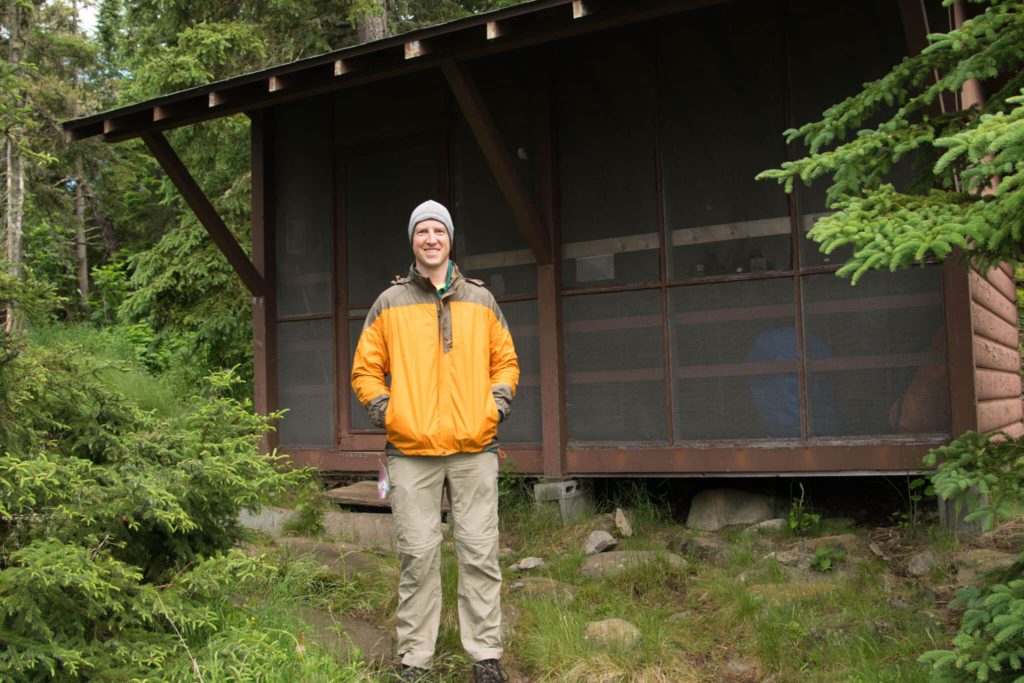
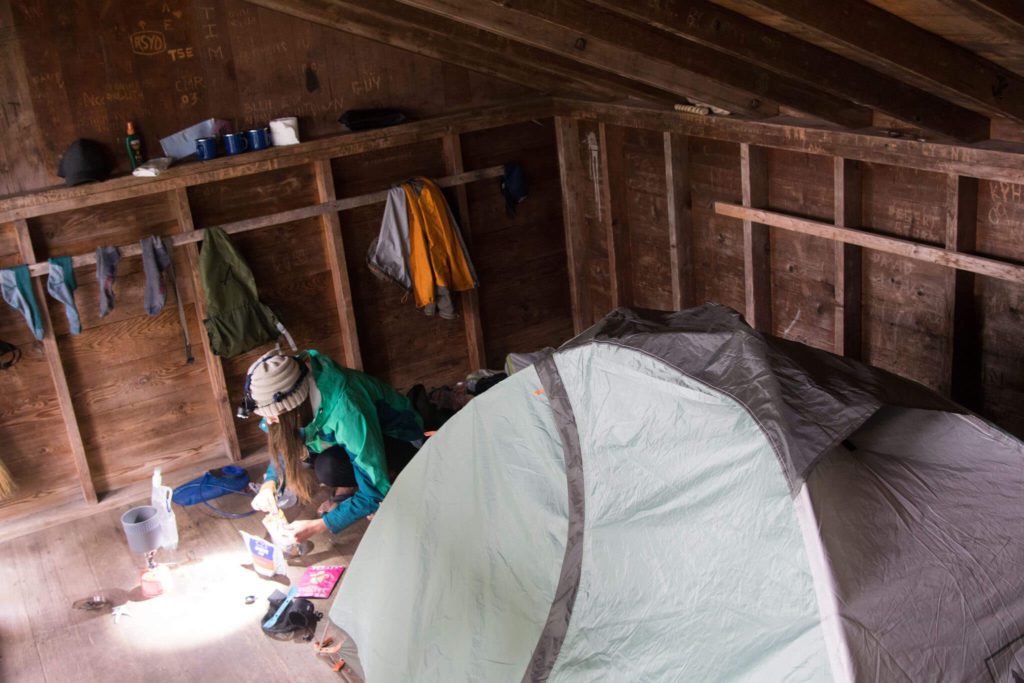
Camping on Isle Royale is actually pretty nice. If you get to sites early enough, you’re are very likely to find these little screened in cabins which are available at several campsites. You can then pitch your tent in the cabin. This will keep you off of the ground, keep the bugs out and give you extra protection from any rain. As backcountry camping goes, if you can score one of these cool cabins which we did each night, you’ll be living in the lap of camping luxury. That being said, all of the camping areas, except Windigo and Rock Harbor have pit toilets rather than flushing toilets. There are no showers in any campsites.
One big thing to keep in mind is that there is no running water or fires at a majority of the campsites you’ll stay at while hiking Isle Royale. So you’ll need to have a small camping stove or food that doesn’t need a stove. The most important thing you’ll need is a water purifier as you’ll be drinking out of the lakes that you camp alongside.
What to Pack for an Isle Royale Backpacking Trip
If you’re hiking Isle Royale for multiple days like we did, we assume you’ve camped before and know somewhat what you’re doing and what to pack. However, if this is the first time backpacking or backcountry camping there may be a few things you’ll want to remember.
First, backpacking is different from car camping (where you drive in to your campsite). You have to carry things. Therefore, you’ll want to pack light. This means leaving behind things like camping chairs and air mattresses that you may use when car camping. Additionally, this means investing in high quality backpacking gear. As much as we love a good deal, this means you’ll have to spend more. For example, our tiny two person backpacking tent costs four times as much as our large and luxurious six person car camping tent. So when packing or purchasing your gear, keep in mind that you have to carry it for this trip. So invest accordingly.
Isle Royale Backpacking List
- Lightweight tent
- Camping stove
- Lightweight sleeping bag
- Sleeping mat
- Headlamp
- Bug Spray (with Deet)
- Bug face net
- Hat/sunglasses
- Water purification system (water is only available at the lodges)
- Hydration pack or roll up water bottles
- Food
- Rain coat and rain pants
- Hiking Boots (waterproof)
- Changes of socks and underwear for each day
- Wetwipes
- Isle Royale hiking map
- Toilet paper and plastic bag for removing your toilet paper, trowel if you want to poop in nature
Next, we want to point out that food and water on the island is limited. There is a restaurant at Rock Harbor where you can get a real meal. Additionally, there is a store at Rock Harbor. However, the prices here are expensive, as you’d expect on an island. So you’ll want to bring all of your food with you. You’ll also NEED to have a water purification system. For more information on required water purification check out the park’s information here.
We hope that all of this information has helped you plan your own trip. Hiking Isle Royale is beautiful trip and it is backcountry camping at it’s finest. If you have any questions about what we did, please feel free to leave them in the comments section below and we’re happy to pass on our opinions and experiences to you.

I was blessed to spend nearly an entire summer on Isle Royale, working for a researcher before my senior year at Michigan Tech. We explored lots of areas off the trail as part of our research. It is a magical place. Do not underestimate how cold Lake Superior is, even in summer. Black flies, no-see-ums, deer flies and mosquitos are a major challenge. There are lots of berries to forage, including thimbleberries. You could pick and eat as you hiked, resulting in blood-red hands. That was nearly 50 years ago, but I bet not a lot has changed.
That sounds like an amazing time! With the untouched wilderness there, I bet not a lot has changed too 🙂
Can you comment on the bugs?
I can say that when we visited in June the bugs were minimal, in relation to other places we’ve visited in the U.P. We brought head nets with us for the no-see-ums and we never used it. We didn’t see any black flies, but it was early in the season for them. And we did see mosquitos that were large, like other U.P. mosquitos. But we used our deet based mosquito spray and didn’t get too horribly bitten. Also, if you can snag those shelters they’re screened in, so that helps to decrease the bugs you have to deal with at night. And lastly, I think the campsites near Lake Superior were better that the inland sites we stayed at as the lake breeze kept the bugs away.