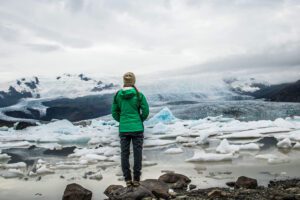
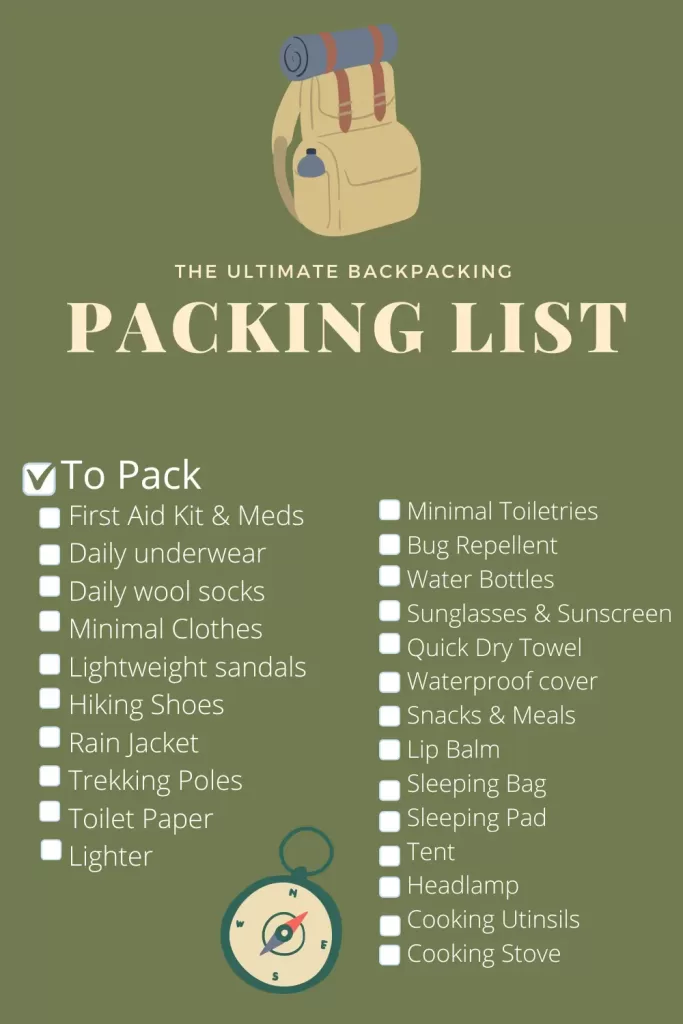
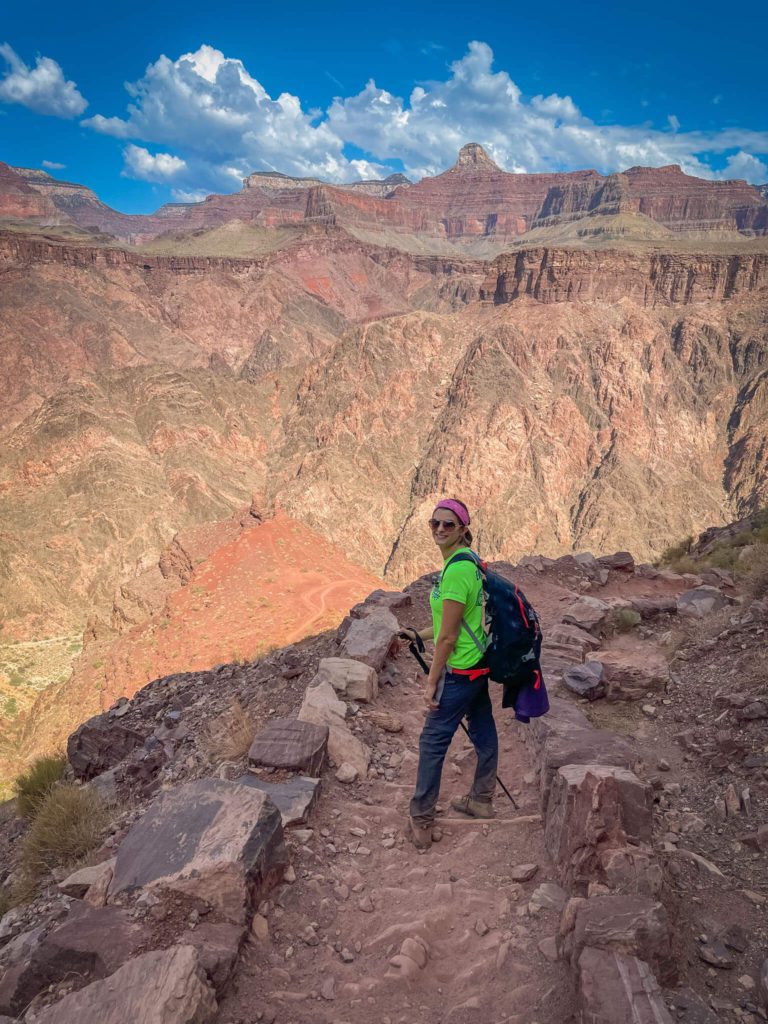
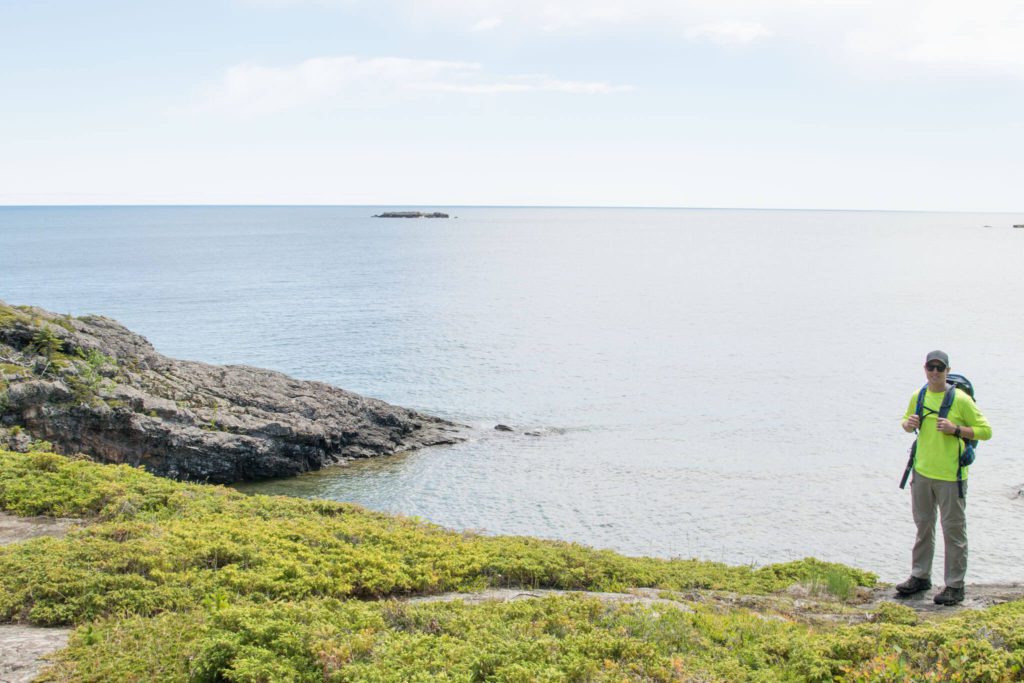
Imagine backpacking: You exploring the wilderness with nothing but the gear on your literal back. It can be intimidating, for sure. But it can also be extremely rewarding. With some of the best campsites in the world only accessible to those willing to put in the work, we think it is worth the hike. However, without a complete backpacking checklist you can make the mistake of forgetting something or packing too much, possibly an even worse mistake. So keep reading for our ultimate backpacking checklist and recommendations of our favorite backpacking gear.
This checklist is focused on 3-season camping – otherwise known as “nope we don’t camp in the freezing cold weather cause we too old for that nonsense”. Our days of camping in the snow and frost are behind us as we firmly decided the last time we went camping below freezing. This list will be perfect for you if you are camping when daytime temperatures are 50+ and when nighttime temperatures don’t go below 10. For most places this means camping between Spring and Autumn.
If you are interested in Winter camping, you’ll want to look elsewhere for packing lists and gear recommendations. Or look on Hotels.com for alternative accommodations, which is what we now do.
Stuff In This Post
ToggleSleeping Gear
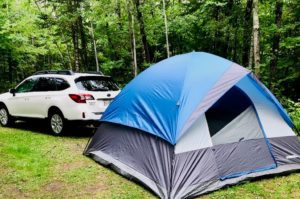
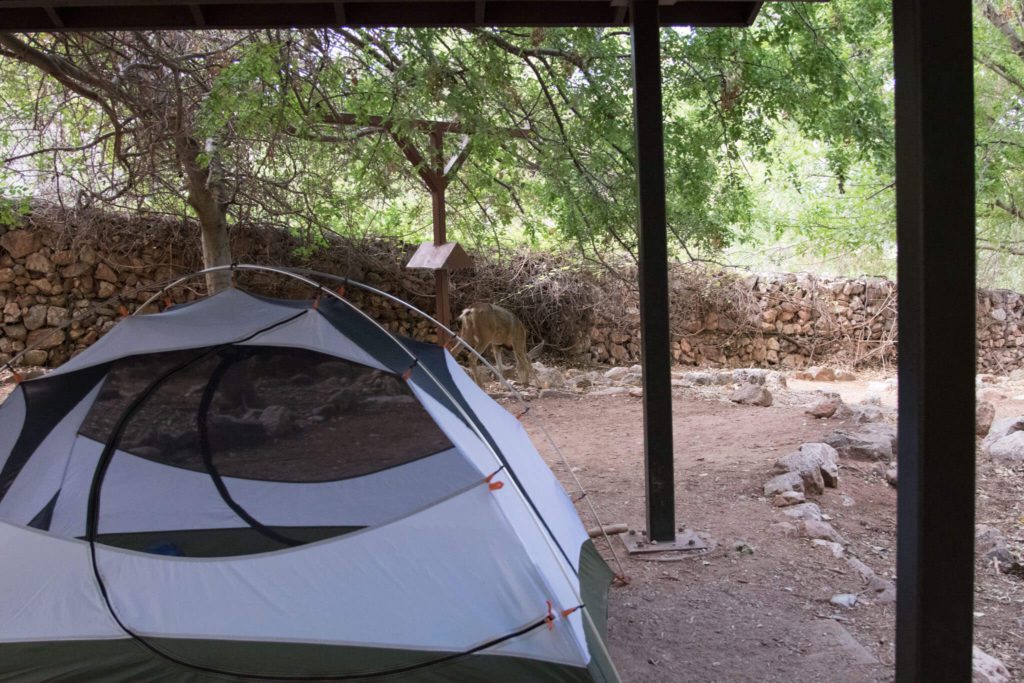
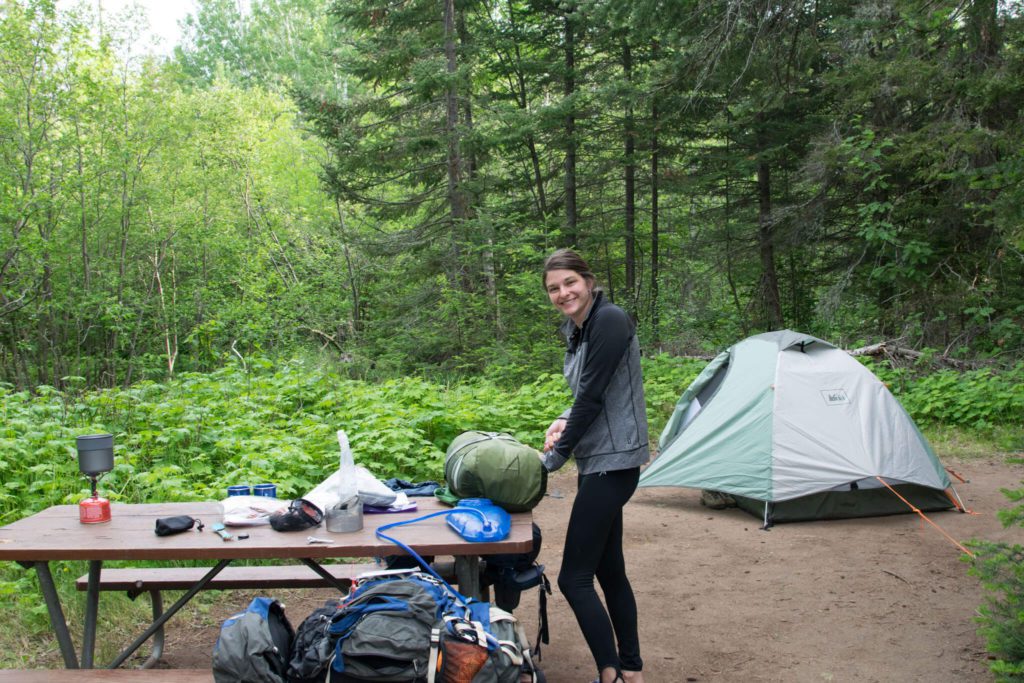
Tent
We love this small two person tent for backpacking. It’s super lightweight which makes it great for backpacking. While we have some cheap tents for when we go car camping, our backpacking tent is expensive. However, after one backpacking trip, you will thank yourself for the splurge on an expensive and therefore lightweight tent.
Depending on the tent you get and where you’ll be camping, you may or may not need a groundcloth. Our tent has a built in groundcloth that works for dry weather. However, you’ll definitely want a groundcloth if you are camping in wet weather. You’ll want a groundcloth to keep yourself drier and warmer by separating yourself from the ground with an impermeable layer.
Sleeping Pad
A sleeping pad is not optional for us. Some prefer a foam pad. However, those have to be packed on the outside of your bag as they don’t compress. So we’ve upgraded to an inflatable sleep pad. Our sleeping pad has a semi-manual inflating valve and compresses down to a size smaller than a water bottle.
While a camp chair is an optional item on our backpacking checklist, especially for shorter hikes. You can use your sleeping pad on the ground as a place to sleep. Our inflatable pads are extremely durable and have no problem being placed on rocky ground.
Sleeping Bag
You’ll want to invest in a great sleeping bag! This is true of backpacking and of camping. The worst thing in the world is not getting a good nights sleep because you are cold. We have various sleeping bags for different temperature ratings and different style camping trips. However, the sleeping bag that we add most frequently to our backpacking checklist is our lightweight 20° mummy style sleeping bags. They are light for camping and still keep us warm.
Sleeping bags are another area that you’ll want to splurge. While the prices of good quality sleeping bags may be shocking, they last a really long time. We have 20 year old sleeping bags that we still use and are still in great shape. To keep our bags in great shape, we always air them out after camping (hang them on a cloths line in the breeze) and we wash them regularly. We bought machine washable bags for this purpose.
Whatever sleeping bag you choose, you’ll need to make sure it has a compression sack that comes with it or you’ll need to buy one. Compression sacks help you to condense your sleeping bag down to the smallest possibly size so that it is easier to pack in your backpack.
Additionally, you can purchase an inflatable backpacking pillow. However, we put our clothes into our stuff sacks and call it good.
Clothing
Socks
You will need one pair of socks for each day that you hike. Fresh, clean and dry wool socks are the crucial key to preventing blisters.
Underwear
I also think that fresh daily underwear are necessary for hiking. While you may go days without a shower, there is nothing so refreshing as a fresh pair of undies – except maybe that shower at the end of your trip.
Hiking Boots
You’ll want to make sure the hiking shoes or boots you choose fit your hike. However, whatever pair you choose, make sure they are broken in. The number of times I’ve seen fresh boots on a long trail is astoundingly stupid. For hikes over rockier terrain, choose thicker soles and more ankle support. For smoother trails, you may be able to get away with trail runners which are lighter. Additionally, we only wear waterproof shoes when we actually expect to get wet – otherwise they just make our feet sweatier.
While Scott has a variety of hiking boot brands, I am a Columbia loyalist. I love my Columbia hiking boots (I have 3 styles) and highly recommend them because they’re amazing and budget friendly.
Additionally, we like to pack camp sandals, just some cheap lightweight plastic sandals to change into when you get to camp to let your feet breathe.
Clothes
When packing clothes, make sure to pack in layers. We like hiking pants that zip off into shorts, athletic style t-shirts, lightweight fleece pullovers. We always pack a lightweight rain jacket, just in case.
Toiletries
Hand Sanitizer
We bring little single packets of hand sanitizer to use before we eat. I suppose this would also be good in a pinch to sanitize any wounds.
Toothbrush
It’s the little things that make you feel like a million bucks when backpacking. And brushing your teeth is a treat. You can also pack toothpaste if you want but the toothbrush is the real star of the show if your pack is getting heavy.
Sunscreen
Make sure you wear this whether or not the sun is out. Burns happen even in cloudy weather. This sunscreen is mineral based and unscented. So it shouldn’t attract/detour any wildlife nor should it affect these untouched water sources you may be splashing in.
Bug Repellant
Bug repellent feels real self explanatory. However, make sure it has deet in it. Those backcountry bugs don’t respect the all natural stuff.
Lip Balm
We always manage to forget chapstick but it is so helpful. Make sure to pack stuff with sunscreen in it.
Trowel
This is for burying your poop.You only should need one for your group. You’ll want to bury your poop at least 6 inches deep so it’s nice to have a trowel that is this size so you can also use it for a measuring stick. Then wipe it off and attach it to the outside of your backpack.
Toilet Paper
You’ll want to pack your own toilet paper and zipper baggies so that you can both wipe and pack out your dirty toilet paper.
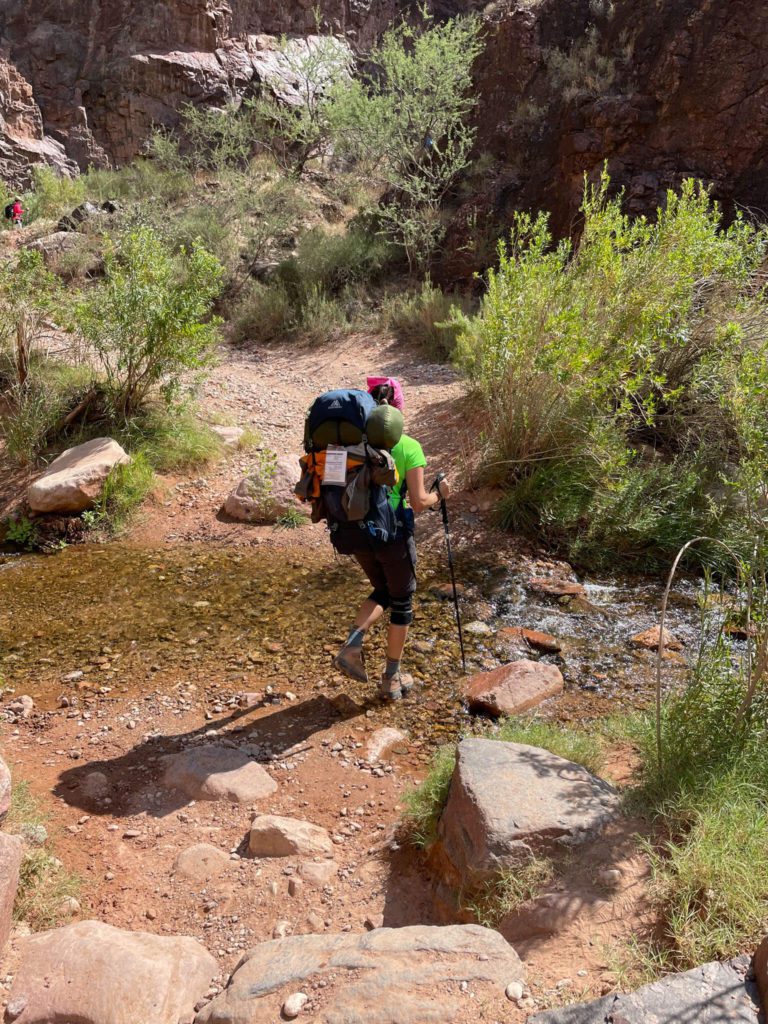
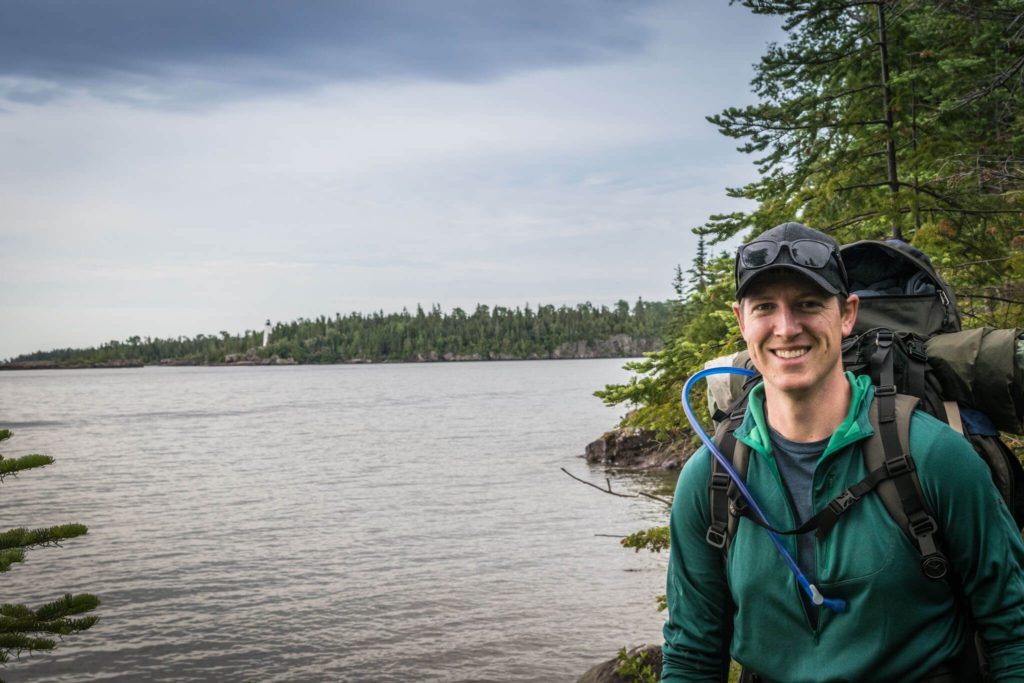
Backpacking Gear
Backpack
We have one backpack each. While there are various styles and sizes out there, the fact of the matter is the fit is more important than anything and comfort of fit can make all the difference when hiking. While almost all backpacks are adjustable to some level, it’s important to buy them in person, try them on, load them up and walk around the store with lots of weight in your pack. Like a weirdo, I walked around for a half hour with a loaded pack before buying it. So we’re not including recommendations on which packs to buy, instead go to REI, or your local sporting goods store, and try some on.
Some things to look for in a backpack are a good structure to keep the pack off your back for airflow. We both have an internal frame backpack but some people do prefer external frames. Additionally, a nice feature of backpacks are detachable tops that convert to day packs. These are great for situations where you’ll be camping in one spot and going on hiking day trips. Lastly, lots of external access points are nice. Once your backpack is packed, you want to be able to access things easily without having to unpack the whole kit.
Almost all high quality backpacks include a rain cover. If yours doesn’t, buy one.
First Aid Kit
You’ll want to customize your own first aid kit for you. However, some things to have in every first aid kit include bandaids and antibiotic ointment for any cuts or blisters. Additionally, an elastic bandage should be in everyone’s kit as foot and leg injuries are common while hiking. Most places are inaccessible to emergency rescue meaning you likely have to hike yourself out even in an emergency. An elastic bandage can help you create a splint that will help you get to an emergency evacuation point. Next, you’ll want to include moleskin in your first aid kit for the most common of emergencies, blisters. Lastly, every backpacking checklist should include one of those foil blankets. This is for use in extreme cold or heat, which can happen unexpectedly on any hike.
Trekking Poles
We didn’t start hiking with trekking poles because they look pointless. However, they definitely serve a point. They help you keep your hands elevated so you don’t wind up with too much blood in your hands, which can happen easily when doing longer hikes. Additionally, they’re great for any hiking over inclines. While they’re helpful going up, they’re even more useful when you’re going down as they can take some weight off of your knees.
Navigation
While some opt for very expensive GPS units, which can be useful on less popular hikes. We’ve always used paper maps and Google maps as we tend to hike more popular trails with lots of good markers and people nearby.
Cooking
Camp Stove Set
Every backpacking checklist needs a camp stove, fuel and a lighter. Our camp stove has an internal lighter but it’s always good to have a backup if that fails. Most camp stoves come with a cook set. Some cook sets have lots of options but we only ever use the pot so we think the other stuff is unnecessary. Make sure you have enough fuel to get you through all of your meal. This is why meal planning is so important when you are going backpacking.
Cooking Utensils
Again, you’ll want to meal plan for your backpacking trip so you know what cooking utensils you’ll need. Typically, our meal plans require our spork/knife set and a mug. We can both eat and drink out of our mugs! Lots of camp food also are packaged in packaging that allows you to eat out of the bag.
Quick Dry Towel
We pack small quick dry towels so that we can clean dishes, give ourselves sponge baths or dry off if we get wet.
Water
Water Reservoir
Almost all backpacks will come with a spot to put a water reservoir. We have 2-3 liter reservoirs and those are great. One tip is to adjust your fill level depending on how much water you’ll actually need. While it’s better to have too much water rather than not enough, water is heavy so do try to hit the mark.
Water Bottles
In addition to water reservoirs, we pack collapsible water bottles. These ones are lightweight, even if they aren’t super durable we prefer them due to the weight. These are great to have especially when camping in hot weather as we like to add an electrolyte tab to water to keep ourselves hydrated.
Water Purification
Depending on where you are backpacking, a water purification system may be optional or a necessary part of your backpacking checklist. Some backpacking trails have fresh water stations throughout. Others have fresh water sources. Others have nothing. You’ll only need a water purification system if there are fresh water sources, such as lakes and rivers on or near your hiking route. We like this nice, light and easy to use system.
Extras
Wallet
If you need your ID, cash, cards or a permit, don’t forget to include them in your backpacking checklist.
Phone & Camera
We typically pack only our phones when backpacking to take photos. However, if you wanted to pack your camera, that is an option we’ve elected before. Typically, the weight to picture quality difference is not worth it to us.
Deck Of Cards
We think this tiny bit of weight is worth it as it gives you something to do at night at the campsite.
Hat & Gloves
If you are camping in weather that will be cool in the morning, you’ll want a hat a gloves to cook and pack up camp with. It’s incredibly hard to do when your hands loose feeling.
Portable Shade
A hat with a brim and sunglasses are defiantly needed if you’ll be hiking in sunny weather. It will keep you cooler and reduce your sunburn risk.
What Is The 20% Rule For Backpacking?
The 20% rule states that your loaded backpack shouldn’t weigh more than 20% of your total body weight. So if you weigh150 pounds, your pack should be no more than 30 pounds. This is a good rule to follow to ensure that you are not over exerting yourself on your hikes. If your pack ends up too heavy, unpack it all and weed items down until your pack is light enough.
Hiking in a group is honestly the best way to go as you only need one of lots of the things on this backpacking checklist for each group. There are lots of groups out there to help you find backpacking buddies so you can share the load. Consider doing a group hike if you are starting out on your own. It’s a great way to get started.
We hope this backpacking checklist has helped you to get started in the backpacking world. If you have any questions or suggestions, please leave those in the comments section below. If you’re looking for suggested backpacking destinations, check out the resources below:
We think you’ll also like: